Solar Panel Installation Checklist | Explained
Installing a solar panel system is a significant investment that requires careful planning and execution. A well-designed checklist can help ensure a smooth and successful installation process, ensuring that all essential steps are followed, and potential issues are addressed. This article provides a comprehensive solar panel installation checklist, covering all aspects from pre-installation to post-installation tasks.
Pre-Installation Checklist
1. Obtain signed contracts: Ensure that you have signed contracts with the installer, clearly outlining the scope of work, warranties, payment terms, and any other relevant details.
2. Schedule the installation: Coordinate with the installer to schedule the installation date and time, taking into account weather conditions and the availability of all necessary materials and personnel.
3. Get multiple quotes: Obtain quotes from multiple reputable solar panel installation companies to compare prices, services, and warranties. This will help you make an informed decision and ensure you’re getting a fair deal.
4. Check local regulations and certifications:
- Verify local planning regulations and obtain any necessary permits or approvals.
- Ensure that the installer is certified by relevant organizations, such as the Microgeneration Certification Scheme (MCS) in the UK or similar accreditations in your location.
- Obtain an Energy Performance Certificate (EPC) or equivalent documentation, as required by local authorities.
5. Review system design: Carefully review the final system design with the installer, ensuring that it meets your energy needs, roof specifications, and any specific requirements you may have.
6. Site preparation: Clear the installation area of any debris or obstructions, and ensure safe access for workers and equipment.
7. Delivery of materials: Confirm with the installer that all necessary materials, including solar panels, racking systems, inverters, cables, and electrical components, have been delivered to the installation site.
8. Roof suitability: Verify that your roof is structurally sound and suitable for solar panel installation. The installer should assess factors such as roof age, condition, and load-bearing capacity.
9. Safety precautions: Emphasize the importance of following proper safety protocols throughout the installation process. This includes using appropriate personal protective equipment (PPE), implementing fall protection measures, and adhering to electrical safety guidelines.
Installation Checklist
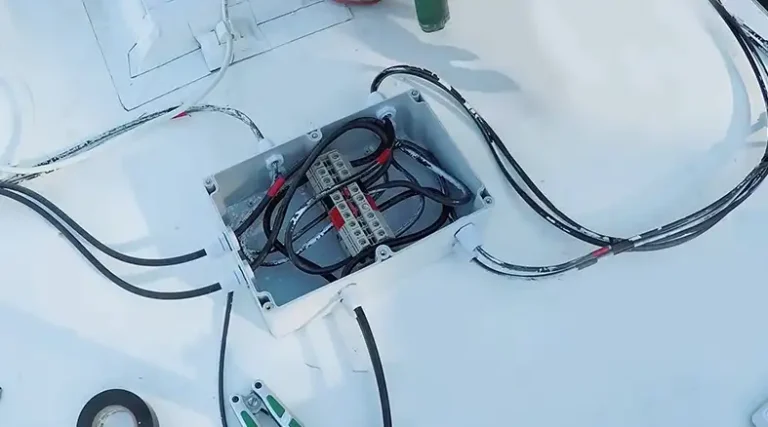
1. Electrical connections: Ensure that all electrical connections are secure, torqued correctly, and properly labeled. Check the voltage and polarity of the wires, and verify that cables are sized and routed according to electrical codes.
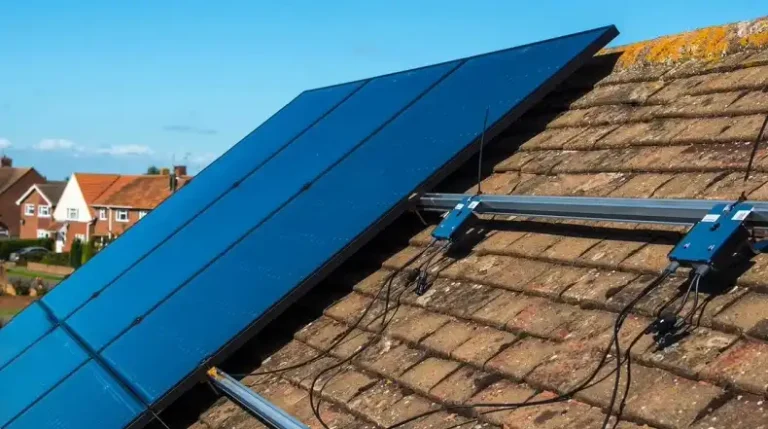
2. Racking and mounting: Confirm that the racking system is securely mounted and angled for optimal sun exposure. Follow manufacturer guidelines for proper spacing and clearance between panels.
3. Grounding: Verify that the entire system, including panels, racking, inverters, and electrical equipment, is properly grounded to meet safety standards.
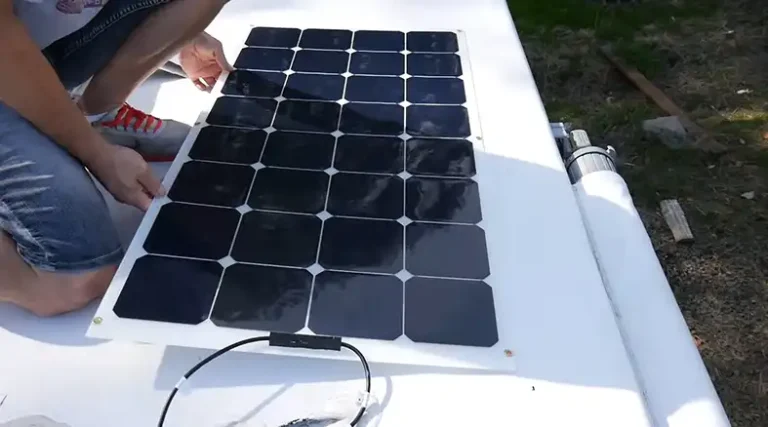
4. Panel installation:
- Install solar panels facing south (in the northern hemisphere) or north (in the southern hemisphere) for maximum power generation.
- Minimize shading on the panels from nearby trees, buildings, or other obstructions.
- Tilt the panels at an appropriate angle for your location to optimize solar energy capture.
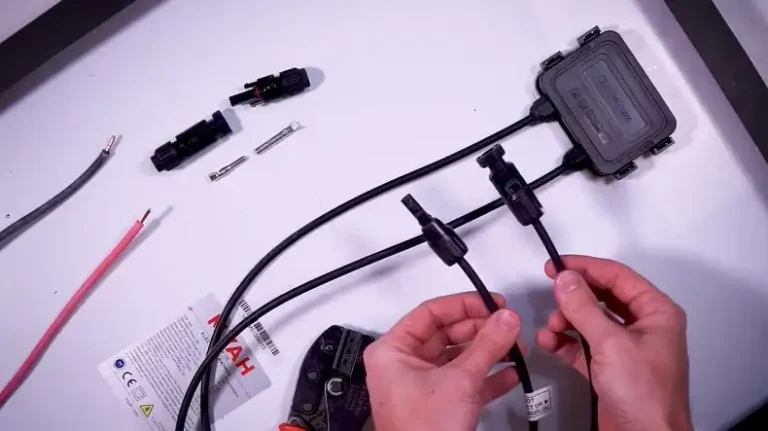
- Connect the solar panels together using solar connectors and cables, following the correct polarity.
5. Inverter and grid connection:
- Connect the solar panels to the solar inverter according to the system design.
- For grid-tied systems, connect the inverter to the grid following local regulations and utility requirements.
- For off-grid systems, connect a solar battery bank to the system before connecting to the inverter.
System Testing and Commissioning Checklist
1. Verification and testing:
- Double-check all electrical connections for tightness and proper polarity.
- Use a multimeter to confirm continuity and grounding throughout the system.
- Test the voltage and output of each solar panel using a solar panel tester.
2. Commissioning:
- Follow the inverter manufacturer’s instructions to commission the system and establish grid interconnection (if applicable).
- Configure the inverter settings according to the system design and local utility requirements.
- Ensure the monitoring system is functional and displays real-time performance data.
- Compare the system’s actual energy output to the expected energy production based on design calculations.
Post-Installation Checklist
1. Documentation and manuals: Receive a copy of the system manual and understand the warranty coverage for all components.=
2. Safety procedures: Learn how to safely shut down the system in case of emergencies, maintenance, or repair work.
3. Maintenance plan: Discuss a maintenance plan with the installer to ensure optimal system performance and longevity. Schedule regular inspections, cleaning, and necessary repairs or replacements.
4. Documentation: Take detailed photos throughout the installation process for documentation purposes and future reference.
5. Final inspection and approval: Arrange for a final inspection by the local authority having jurisdiction (AHJ) to ensure compliance with all applicable codes and regulations. Obtain the necessary approvals and documentation for the completed installation.
Additional Considerations & Best Practices
1. Installer qualifications: Ensure that the installer is certified and experienced in solar panel installations. Check for accreditations such as MCS or similar certifications in your location.
2. Roof suitability: Assess the structural integrity of your roof and its ability to support the added weight of solar panels. Consult a professional roofer if necessary.
3. Financial incentives: Research and take advantage of any available financial incentives, such as tax credits, rebates, or net metering programs, to offset the cost of the solar panel installation.
Conclusion
A well-executed solar panel installation can provide numerous benefits, including reduced energy costs, increased property value, and a lower carbon footprint. By following this comprehensive checklist, homeowners and installers can ensure a smooth and successful installation process, addressing all essential aspects from pre-installation planning to post-installation maintenance and documentation. Proper planning, attention to detail, and adherence to safety protocols are crucial for maximizing the performance and longevity of the solar panel system.