Why is Ring Solar Panel Not Charging? Step-by-Step Guide
You’ve made the smart choice of investing in a Ring solar panel to power your home security devices, reducing your reliance on traditional power sources and embracing a more sustainable approach. However, you may have encountered a frustrating situation where your solar panel seems to be underperforming or not charging your devices at all. Don’t worry; you’re not alone in this predicament.
In this article, together, we’ll explore the common reasons why your Ring solar panel might not be charging as expected and provide practical solutions to get it back on track. By understanding the potential causes and taking the appropriate steps, you can ensure your solar panel functions optimally and continues to provide reliable power for your home security system.
Reasons Why Ring Solar Panel isn’t Charging the Device?
There could be several factors contributing to why your Ring solar panel is not charging your devices effectively. Let’s dive into the most common culprits:
Insufficient Sunlight Exposure
Solar panels rely on direct sunlight to generate electricity, and if the panel is positioned in a shaded area or obstructed by trees, buildings, or other structures, it may not receive enough sunlight to charge the battery efficiently. Even partial shading can significantly impact the panel’s performance, as solar cells are connected in series, and a single shaded cell can reduce the output of the entire panel.
Dirty or Damaged Solar Panel
Over time, dirt, dust, bird droppings, or other debris can accumulate on the surface of the solar panel, blocking the sunlight from reaching the solar cells. This buildup can significantly reduce the panel’s ability to absorb and convert sunlight into electrical energy, leading to a decrease in charging performance.
Imagine your solar panel as a window – if it’s covered in grime, it won’t let in as much light, right? The same principle applies here. Even a thin layer of dust or dirt can act as a barrier, preventing the solar cells from receiving the full potential of the sun’s rays.
Additionally, physical damage to the solar panel, such as cracks or scratches, can also impact its efficiency and charging capabilities. These imperfections can disrupt the flow of electrons and reduce the panel’s overall output.
Faulty Connection or Cable
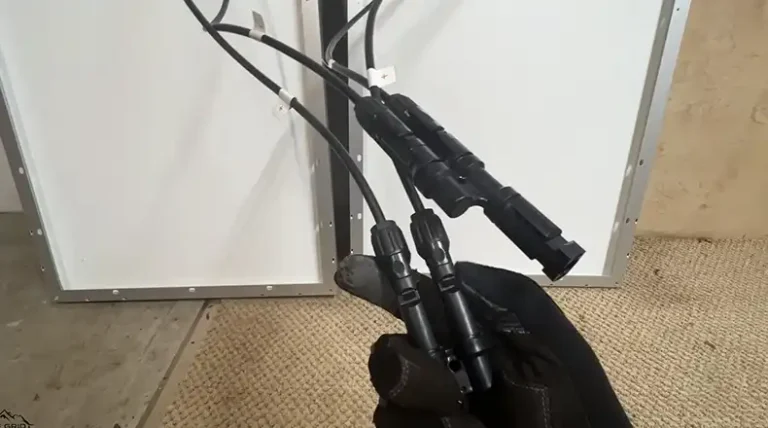
If the connection between the solar panel and the device it’s meant to charge is faulty or loose, it can prevent the proper flow of electrical current. This issue could arise due to damaged or poorly installed cables, loose connections, or corrosion in the connectors.
Imagine a garden hose with a kink or leak – the water flow would be restricted, right? Well, the same principle applies to electrical connections. A faulty cable or loose connection acts as a bottleneck, preventing the smooth transfer of energy from the solar panel to your Ring device.
Furthermore, corrosion can occur over time, especially in humid or coastal environments, causing connections to degrade and hampering the flow of electricity.
Battery Issues
In some cases, the problem may not lie with the solar panel itself but rather with the battery being charged. If the battery is old, defective, or has reached the end of its usable lifespan, it may not be able to hold a charge effectively, even when connected to a properly functioning solar panel.
Think of it like trying to fill a leaky bucket – no matter how much water (or in this case, electricity) you pour in, it just keeps draining out. A faulty battery can be the culprit behind your charging woes, as it may not be able to store and retain the energy being generated by the solar panel.
What Should be Done to Get Back the Solar Panels in Charging State?
Now that you have a better understanding of the potential reasons behind your Ring solar panel’s charging issues, let’s explore some practical solutions to get it back in optimal working condition:
Check and adjust the solar panel’s positioning:
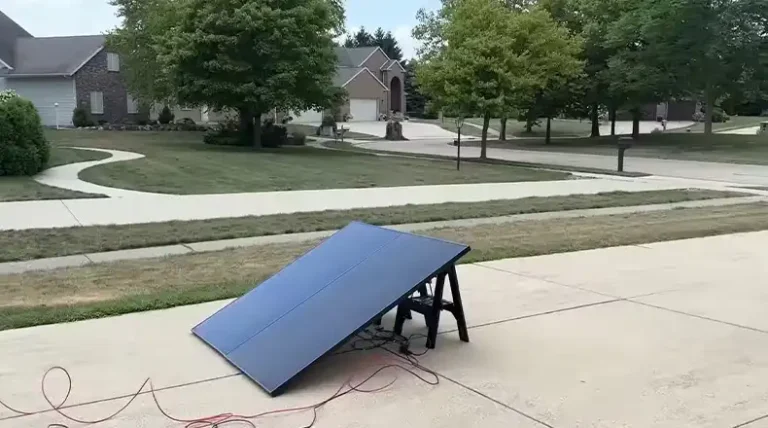
Start by assessing the location of your Ring solar panel. Is it positioned in an area that receives ample direct sunlight throughout the day? If not, reposition or relocate the panel to a more suitable spot. You can even experiment with different angles and orientations to maximize sun exposure.
Location: This mantra applies more than ever here. When mounting your solar panel, choose a spot that basks in at least 4 hours of direct sunlight every day. Shady areas under your eaves, surrounded by trees, or perpetually blocked by bushes are no-go zones for optimal charging.
Seasonal Shifts: The sun’s path changes throughout the year, so what might have been a prime sunbathing spot for your panel in the summer could become a shady corner in the winter. Be a seasonal detective and adjust the panel’s position throughout the year to maximize sunlight exposure.
Clean the solar panel regularly:
Here’s how to keep your panel clean and functioning optimally:
- Gentle Cleansing: Make sure to regularly wipe down your solar panel with a soft, damp cloth to remove dust and debris. Avoid using harsh chemicals or abrasive cleaners, as they can damage the panel’s delicate surface. Think of it like washing a car – gentle and thorough is the key!
- Damage Check-Up: While you’re giving your panel a TLC session, inspect it for any physical damage like cracks or scratches. Damaged panels might need to be replaced to ensure efficient charging. If you’re not comfortable checking for damage yourself, consult a qualified technician.
Inspect connections and cables:
Carefully examine the connections between the solar panel and the device it’s charging. Look for any signs of damage, corrosion, or loose connections, and replace or repair any faulty cables or connectors.
Imagine trying to charge your phone with a frayed or damaged cable – it’s frustrating and ineffective, right? The same applies to your solar panel setup. A compromised connection can disrupt the flow of energy, preventing your devices from charging properly.
Test and replace the battery:
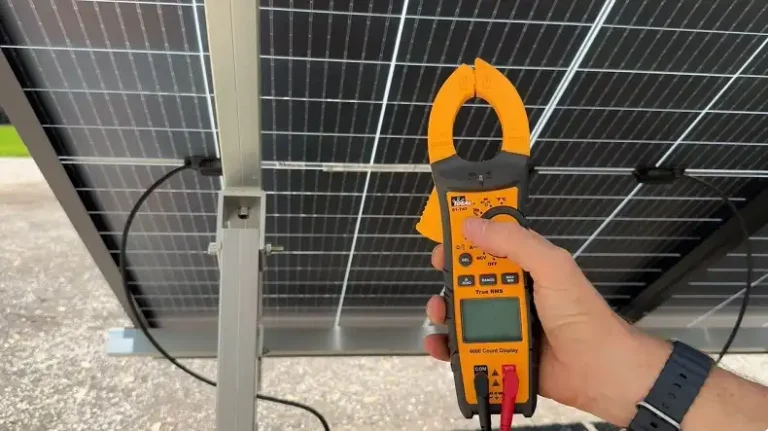
If you suspect the battery is the culprit, try testing it with a multimeter or replacing it with a new, compatible battery. A fresh battery may resolve the charging issues if the old one was defective or had reached the end of its lifespan.
Just like a car battery, the battery in your Ring device can degrade over time and lose its ability to hold a charge. Replacing it with a new, high-quality battery can breathe new life into your solar charging setup.
Consider professional assistance:
If you’ve tried all the above steps and the solar panel still isn’t charging properly, it’s recommended to seek professional assistance from Ring or a qualified technician. They can diagnose and troubleshoot more complex issues that may require specialized knowledge or equipment.
Sometimes, even with our best efforts, certain problems can be tricky to pinpoint or resolve on our own. In such cases, it’s always better to seek help from the experts rather than risking further damage or frustration.
End Notes
In the end, getting your Ring solar panel back to charging your devices properly is often a matter of identifying the root cause and taking the right steps to address it. Whether it’s optimizing the panel’s positioning, maintaining cleanliness, checking connections, or replacing a faulty battery, following the solutions outlined in this article can help you troubleshoot and resolve the issue.
If you have any remaining questions or need further assistance, don’t hesitate to leave a comment below. I’ll be happy to provide additional guidance or clarification. Thank you for reading, and best wishes for a seamless, sustainable, and reliable solar-powered home security experience!

