How to Put Mesh Around Solar Panels? Step-by-Step Guide
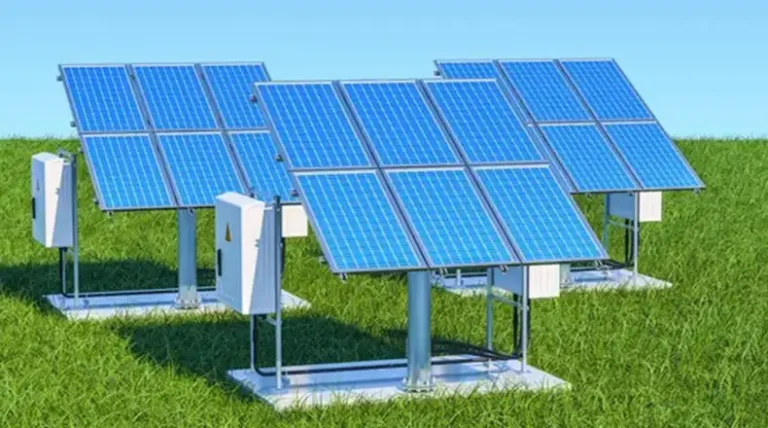
Solar panels are an excellent investment in sustainable energy, but they can inadvertently create a cozy habitat for birds, squirrels, and other small creatures. While it’s charming to think of your roof as a wildlife sanctuary, these uninvited guests can cause significant damage to your solar system. They might chew on wires, build nests that block sunlight, or even create fire hazards. That’s where solar panel mesh comes to the rescue!
Installing protective mesh around your solar panels is a smart, proactive measure that can save you from future headaches and costly repairs. It’s a DIY project that’s well within reach for most homeowners, requiring just a few tools and a bit of patience. In this guide, I’ll walk you through every step of the process, from gathering materials to putting the finishing touches on your newly protected solar array.
Things You Will Need for Installing Mesh around the Solar Panels
Before we climb up to the roof, let’s make sure we have all the necessary tools and materials. Here’s a detailed list of what you’ll need:
- Solar panel mesh kit: This is the cornerstone of your project. A good kit typically includes:
- Metal mesh (usually aluminum or stainless steel) with pre-bent edges for easy installation
- Fastening clips designed to fit snugly on solar panel frames
- Washers to secure the clips
- Sometimes, adhesive strips for additional security
- Wire cutters: You’ll need a sturdy pair to trim the mesh and make any necessary adjustments. Look for ones with comfortable grips as you’ll be using them quite a bit.
- UV-resistant zip ties: These are crucial for securing the mesh in tricky spots and reinforcing corners. Make sure they’re UV-resistant to withstand constant sun exposure.
- Measuring tape: Essential for accurately measuring your solar panel array and cutting mesh to size.
Steps for Installing Mesh Around the Solar Panels
Installing mesh around your solar panels is a methodical process. By breaking it down into manageable steps, we can ensure a secure and effective installation. Let’s get started!
1. Preparation
Proper preparation is key to a successful installation. Here’s what you need to do:
- Measure your solar panel array: Use your measuring tape to determine the total perimeter of your solar panel system. Add an extra 10% to account for overlaps and potential mistakes.
- Cut the mesh into manageable sections: I recommend cutting the mesh into pieces about 5 feet long. This makes handling much easier when you’re on the roof. Use your wire cutters for this, and don’t forget to wear your work gloves and safety goggles.
- Plan your installation route: Decide where you’ll start and end your installation. Usually, it’s best to begin at an outer corner and work your way around the perimeter.
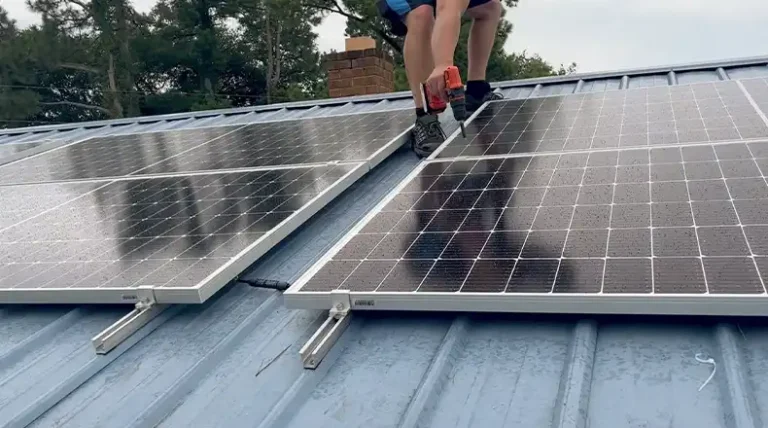
2. Attaching the Mesh
Now that we’re prepared, it’s time to start attaching the mesh. Position your ladder securely and climb up to the roof, remembering to prioritize safety at all times. Start at your chosen outer corner. Take a fastening clip from your kit and slide it under the edge of the solar panel frame. These clips are designed to hook onto a lip on the frame.
Push the clip tight against the frame and secure it with the provided washer. This creates a firm anchor point for your mesh. Attach the mesh to this first clip. Most meshes have a slightly bent edge that fits perfectly into these clips.
Continue attaching clips and mesh along the frame, spacing the clips about every 18 inches. This consistent spacing ensures a secure fit all around. As you work, keep the mesh taut but not overly tight. You want it to be secure without putting undue stress on the panel frames.
3. Bending the Corners
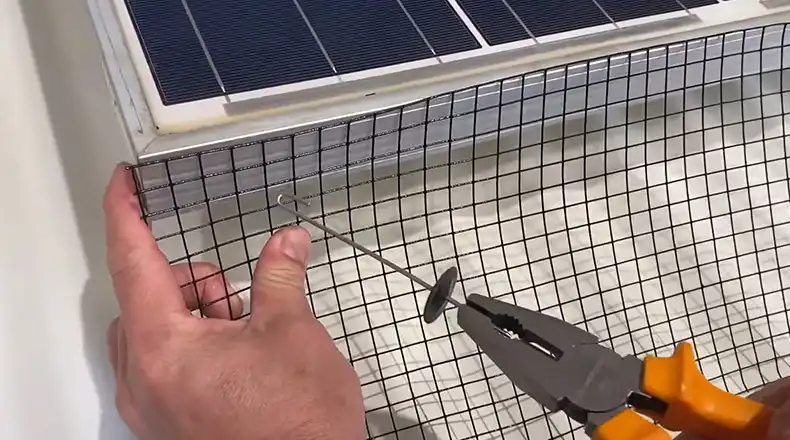
Corners require special attention to ensure a neat, secure fit. When you reach a corner, you’ll need to bend the mesh to follow the angle of the solar panel array. Most mesh kits have pre-bent edges to facilitate this. Bend the edge at a 90-degree angle to create a flange that sits flush against the roof.
If the pre-bent edge isn’t quite right, you can make additional bends using your gloved hands or a pair of pliers. Be careful not to create any sharp edges that could cause injury. Secure the bent corner with an additional fastening clip and, if needed, a UV-resistant zip tie for extra strength.
4. Overlapping and Connecting Mesh Pieces
As you work your way around the perimeter, you’ll need to connect new pieces of mesh. When you reach the end of one mesh section, overlap the next piece by about 2-3 squares of the mesh. This creates a seamless barrier. Secure this overlap with a fastening clip, ensuring both pieces are held firmly in place.
For added security, especially at these connection points, use UV-resistant zip ties. Thread them through both layers of mesh and tighten securely. Trim any excess from the zip ties using your wire cutters, being careful not to leave sharp edges.
5. Dealing with Inner Corners
Inner corners can be tricky, but with a bit of patience, you can achieve a neat finish. When you reach an inner corner, you’ll likely need to make a relief cut in the mesh to allow it to bend properly. Using your wire cutters, make a small diagonal cut at the corner point of the mesh. This allows the mesh to fold without bunching up.
Overlap the cut edges and secure them with zip ties. Make sure there are no gaps that could allow small animals to enter. If needed, you can cut a small patch of mesh to cover any remaining gaps, securing it with additional zip ties.
6. Trimming and Filling Gaps
The final step is to ensure everything is neat and secure. Once you’ve gone around the entire perimeter, use your wire cutters to trim any excess mesh. Be careful not to leave any sharp edges. Inspect your work carefully, looking for any small gaps, especially at corners or where the mesh meets the roof.
For any gaps you find, cut small patches of mesh and secure them with zip ties. It’s better to have a bit of overlap than to leave any potential entry points. Double-check all your fastening clips and zip ties to ensure they’re secure. Finally, do a general inspection of your solar panels to make sure the mesh installation hasn’t disturbed any wiring or connections.
Wrapping Up
Installing mesh around solar panels might seem like a hassle, but trust me, it’s worth it. Those little critters won’t know what hit ’em! Hey, if you run into any snags or just want to share how it went, drop a comment below. I’m all ears!
You know, every time I finish a project like this, I feel pretty darn good. It’s not just about saving a few bucks – we’re part of something bigger here. So pat yourself on the back, grab a cold one, and enjoy those protected panels. Thanks for hanging out with me today. Here’s hoping your roof stays critter-free and your energy bills stay low. Catch you on the flip side!