How to Install Used Solar Panels | Step-by-Step Guide
Used solar panels offer significant advantages over their brand-new counterparts. Firstly, they come at a fraction of the cost, making solar energy accessible to a broader range of consumers. Secondly, by giving these panels a second life, you’re contributing to the reduction of electronic waste and the overall environmental impact of solar technology production.
However, working with used panels presents unique challenges. These may include reduced efficiency, potential compatibility issues, and the need for more frequent maintenance. But with the right knowledge and approach, these hurdles can be overcome, resulting in a functional and economical solar power system.
Sourcing and Evaluating Used Solar Panels
Where to Find Reliable Used Solar Panels
The first step in your journey is finding quality used solar panels. Several sources are available:
- Websites like eBay, Craigslist, and specialized solar equipment marketplaces often have listings for used panels.
- Some solar installation companies may sell decommissioned panels from upgrade projects.
- Large-scale solar projects occasionally replace their panels, providing an opportunity to purchase industrial-grade equipment.
- These facilities sometimes resell panels that are still in good working condition.
Assessing the Condition of Used Panels
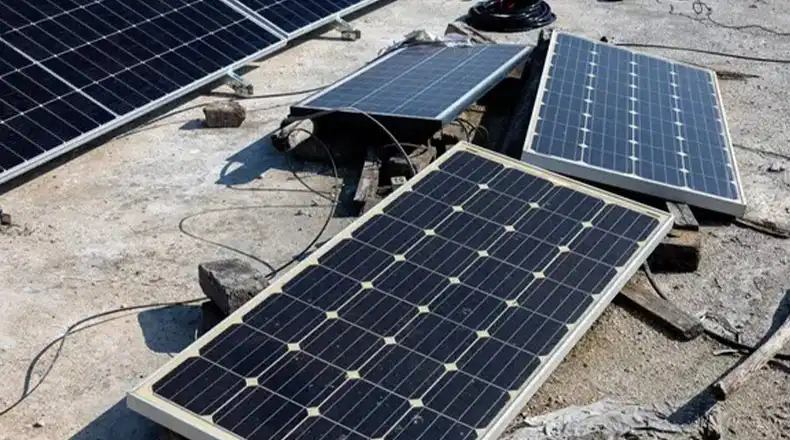
Once you’ve found potential panels, it’s crucial to evaluate their condition thoroughly. Look for signs of physical damage such as cracks, discoloration, or delamination. Pay special attention to the backsheet, as damage here can lead to moisture ingress and reduced performance.
Older panels from reputable manufacturers often perform better than newer panels from less established brands. Use a multimeter to measure the panel’s open-circuit voltage (Voc) and short-circuit current (Isc) under sunlight.
For more accurate results, use a solar irradiance meter alongside your multimeter. This allows you to calculate the panel’s actual power output under standardized conditions.
Here’s a simple table to help you interpret your findings:
| Metric | Acceptable Range | Action if Outside Range |
| Visual Damage | None to minimal | Reject if significant |
| Age | Up to 15 years old | Carefully evaluate if older |
| Voc | Within 10% of rated | Reject if significantly lower |
| Isc | Within 15% of rated | Reject if significantly lower |
| Power Output | >80% of rated | Consider carefully if lower |
Remember, used panels will naturally have some reduction in efficiency. A good rule of thumb is to look for panels that still produce at least 80% of their rated power.
Planning Your Used Solar Panel Installation
Determining System Size and Energy Needs
When working with used panels, it’s essential to account for their potentially lower efficiency when calculating your system size. Here’s a step-by-step approach:
- Calculate your average daily energy consumption in kilowatt-hours (kWh).
- Determine the average daily sun hours in your location.
- Factor in the efficiency of your used panels (assume 80% of rated output as a conservative estimate).
- Use this formula: System size (kW) = (Daily energy use / Daily sun hours) / 0.8
For example, if your daily energy use is 30 kWh, you have 5 hours of peak sunlight, and you’re using panels at 80% efficiency:
System size = (30 kWh / 5 hours) / 0.8 = 7.5 kW
This means you’d need a 7.5 kW system to meet your energy needs with used panels, compared to a 6 kW system with new panels at full efficiency.
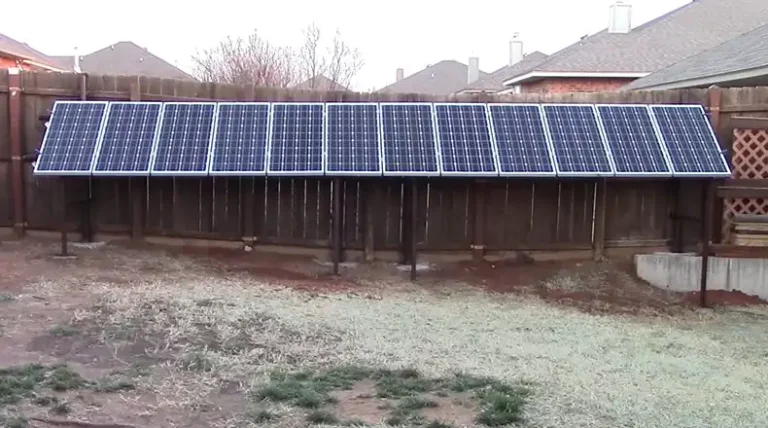
Site Assessment and Panel Placement
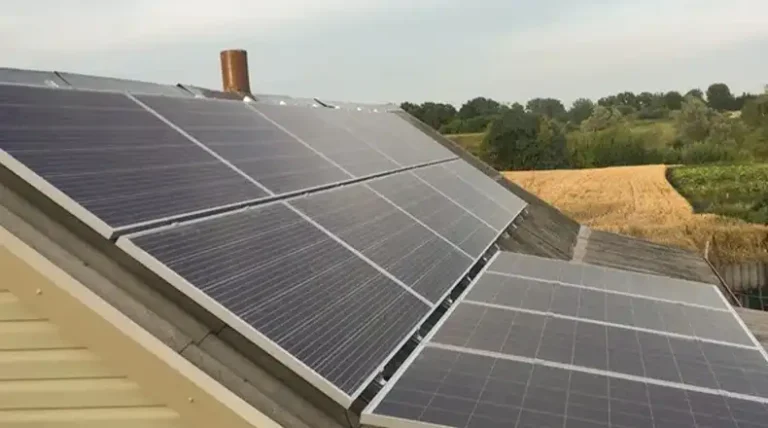
Proper placement is crucial for maximizing the performance of your used solar panels. Ensure your roof can support the weight of the system and has at least 10 years of life left. South-facing roofs are ideal in the Northern Hemisphere while north-facing roofs are best in the Southern Hemisphere.
The optimal tilt angle is typically equal to your latitude, but this can be adjusted based on seasonal needs. Identify and minimize any sources of shade, as even partial shading can significantly impact system performance.
Compatibility and Integration
When working with used panels, you may encounter compatibility issues with modern inverters or mounting systems. Ensure all panels in a string have similar voltage and current characteristics. Mixing different models or ages can lead to reduced overall performance.
Microinverters or Power Optimizers can be a good solution when working with panels of varying outputs, as they optimize each panel individually. Be prepared to adapt your mounting solution for non-standard panel sizes or mounting holes. Some older panels may require custom brackets or rails.
Installation Process
Preparing for Installation
Before you begin the physical installation, gather all necessary tools and materials. Here’s a comprehensive list:
- Safety equipment (harness, non-slip shoes, gloves, safety glasses)
- Ladder or scaffolding
- Drill and bits
- Wrenches and screwdrivers
- Wire cutters and strippers
- Multimeter
- Solar panel mounting rails and clamps
- Inverter
- DC disconnect switch
- Electrical conduit and wiring
- Grounding equipment
Step-by-Step Installation Guide
- Roof Preparation: Clean the installation area and inspect for any damage. Mark the locations for mounting rails, ensuring they align with roof rafters.
- Installing the Mounting System: Attach the mounting rails to your roof, ensuring they’re level and securely fastened. Use appropriate flashing to prevent water ingress.
- Mounting the Panels: Carefully lift the panels onto the roof and secure them to the mounting rails. Be extra cautious with older panels, as they may be more fragile.
- Wiring the Array: Connect the panels according to your system design. For a series connection, link the positive terminal of one panel to the negative of the next. For parallel connections, join all positive terminals together and all negative terminals together.
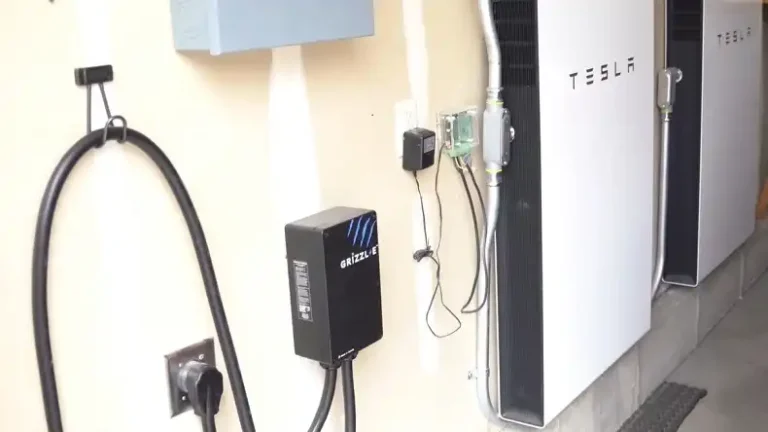
- Installing the Inverter: Mount the inverter in a cool, dry location, ideally close to your main electrical panel. Follow the manufacturer’s instructions for wiring the panels to the inverter.
- Connecting to the Electrical System: This step should be performed by a licensed electrician. They will install a new circuit breaker in your main panel and connect the inverter output.
- Grounding the System: Ensure all components are properly grounded according to local electrical codes. This is crucial for safety and lightning protection.
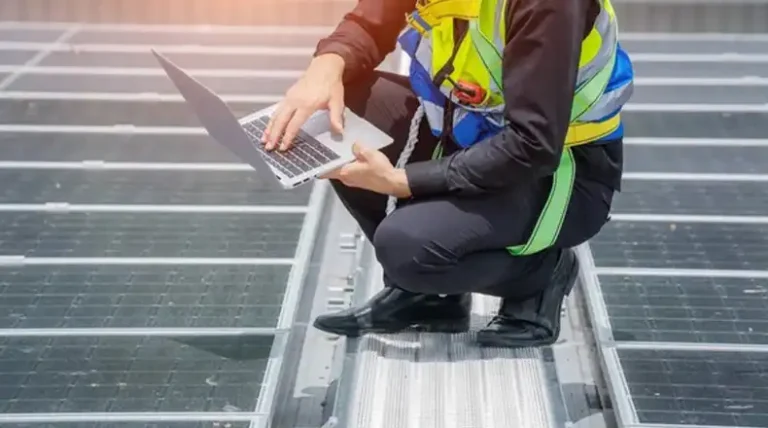
Testing and Commissioning
After installation, thorough testing is crucial to ensure your system is functioning correctly and safely. Check all connections, ensuring there are no loose wires or mounting hardware. Use a multimeter to verify the open-circuit voltage of each string of panels.
Power on the inverter and check for any error messages. Verify that it’s detecting the correct number of panels. Monitor the system’s output over several sunny days to ensure it’s producing the expected amount of power.
Remember, many jurisdictions require a professional inspection before the system can be officially commissioned and connected to the grid. Always check local regulations and arrange for any necessary inspections.
Final Words
Installing used solar panels can be a rewarding project that brings significant energy savings and environmental benefits. While it presents unique challenges, with careful planning, thorough evaluation, and proper installation techniques, you can create a robust and efficient solar power system.
Remember to prioritize safety throughout the process, and don’t hesitate to consult with professionals for complex tasks or electrical work. By giving these panels a second life, you’re not only saving money but also contributing to a more sustainable future.
![[Answered] How Much Does It Cost to Pigeon Proofing Solar Panels?](https://www.itekenergy.com/wp-content/uploads/2023/07/How-Much-Does-It-Cost-to-Pigeon-Proofing-Solar-Panels-768x428.webp)