The Complete Guide to HBK (Hybrid Solar Kit) Setup & Operation
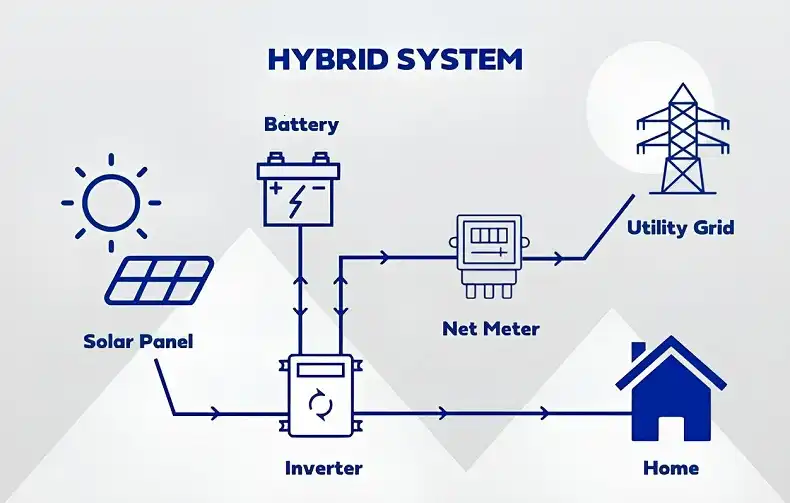
Hybrid solar power systems represent the latest advancements in renewable energy technology, combining the benefits of solar power with other energy sources for a highly efficient and reliable home power solution. Unlike traditional solar-only setups, hybrid systems integrate solar panels, battery storage, and in some cases, a grid connection, to provide homeowners with greater energy independence, cost savings, and backup power capabilities.
In this guide, we’ll everything you need to know about setting up an HBK solar system, from planning to installation. Let’s begin.
Planning and Preparing for Your Hybrid Solar Kit Installation
Before you can begin the installation process, it’s essential to thoroughly plan and prepare your site to ensure a successful and efficient setup.
Assessing Your Energy Needs and Site Conditions
The first step is to evaluate your home’s energy requirements and the physical characteristics of your property. Consider factors such as your average daily and seasonal energy consumption, the available space for solar panel placement, and the level of solar exposure at your proposed installation site.
Carefully measure and document the dimensions of your roof or ground-mounted solar array location, taking note of any potential shading issues or obstructions. This information will be crucial in determining the optimal size and configuration of your hybrid solar kit.
Selecting the Right Hybrid Solar Components
With a clear understanding of your energy needs and site conditions, you can now start selecting the appropriate components for your hybrid solar kit. This typically includes:
- Solar panels: Choose high-efficiency monocrystalline or polycrystalline models that match your power requirements.
- Inverter/charger: Ensure the inverter can handle your home’s electrical load and seamlessly integrate with the battery bank and grid connection (if applicable).
- Battery bank: Determine the required storage capacity based on your energy consumption and backup power needs.
- Charge controller: If your inverter doesn’t have a built-in charge controller, you’ll need to add a separate unit to manage the battery charging process.
It’s essential to carefully review the specifications and compatibility of each component to ensure they work together harmoniously within your hybrid solar system.
Gathering the Necessary Tools and Equipment
In addition to the core hybrid solar components, you’ll also need a range of tools and equipment to facilitate the installation process. This includes:
- Standard hand tools (screwdrivers, wrenches, pliers, etc.)
- Power drill with appropriate drill bits
- Ladder or scaffolding (for roof-mounted systems)
- Safety equipment (gloves, goggles, harnesses, etc.)
- Electrical wiring supplies (cables, conduit, circuit breakers, etc.)
It’s also crucial to familiarize yourself with any local building and electrical codes that may apply to your hybrid solar installation. This may involve obtaining permits and coordinating with your utility company.
Installing and Configuring Your Hybrid Solar Kit
With the planning and preparation complete, you can now move on to the hands-on work of setting up your hybrid solar kit.
Mounting the Inverter/Charger
Begin by securing the inverter/charger unit in a suitable location, typically on a wall or other sturdy surface near your home’s electrical panel. Ensure the installation is level and the unit is easily accessible for future maintenance and adjustments.
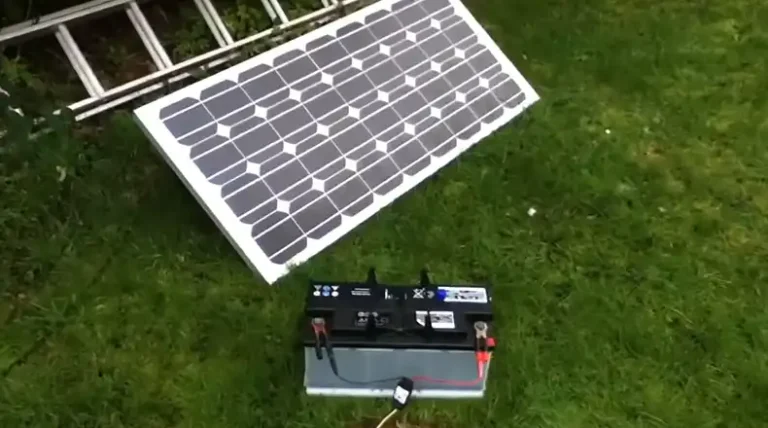
Connecting the Battery Bank
Next, you’ll need to connect the battery bank to the inverter/charger. This involves carefully making the positive and negative cable connections, and ensuring all terminals are tight and properly grounded. Refer to the manufacturer’s instructions for the recommended battery wiring configuration.
Wiring the AC Connections
With the battery bank in place, you can now begin integrating the hybrid solar kit into your home’s electrical system. Start by running the AC output cables from the inverter/charger to your home’s main electrical panel, following all local electrical codes and safety protocols.
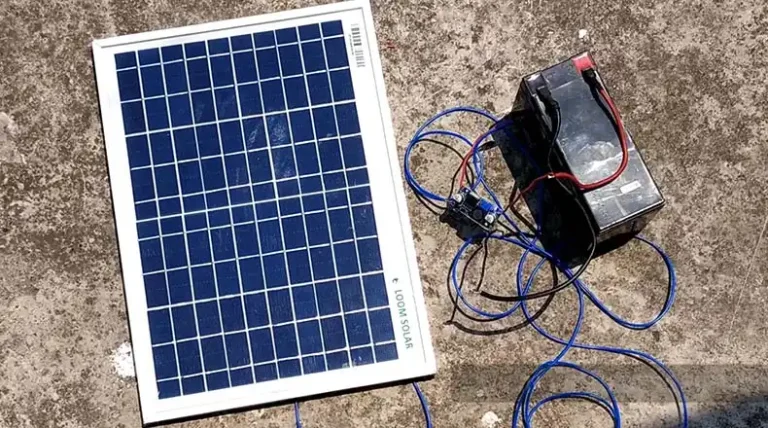
Connecting the Solar Panels (if applicable)
If your hybrid solar kit includes solar panels, you’ll need to connect them to the inverter/charger as well. This process typically involves running the positive and negative DC cables from the solar array to the designated terminals on the inverter.
Configuring the System Settings
The final step in the installation process is to configure the various settings and parameters of your hybrid solar kit. This may include adjusting the inverter’s operating modes, setting battery charge and discharge thresholds, and enabling any grid-tie or smart home integration features.
Consult the manufacturer’s instructions and work closely with any qualified solar installers or electricians to ensure your hybrid system is properly configured for optimal performance and safety.
Testing, Monitoring, and Maintaining Your Hybrid Solar Kit
With the physical installation and configuration complete, it’s time to put your hybrid solar kit to the test and establish a routine maintenance plan to ensure its long-term reliability.
Initial Power-Up and System Testing
Begin by carefully powering up the entire hybrid solar system and verifying that all components are functioning as expected. Check for proper battery charging, inverter operation, and grid synchronization (if applicable).
Monitor the system’s performance closely during this initial testing phase, making any necessary adjustments to the configuration settings. Ensure all electrical connections remain tight and secure, and address any issues or error messages promptly.
Ongoing Monitoring and Optimization
Continuous monitoring and optimization are key to maintaining the efficiency and reliability of your hybrid solar kit. Many modern systems come equipped with advanced monitoring and control features, allowing you to track energy production, consumption, and battery levels from a smartphone, tablet, or web-based interface.
Regularly review your system’s performance data and make adjustments to the tilt and orientation of your solar panels, battery charging parameters, or energy management strategies to ensure you’re getting the most out of your hybrid solar investment.
Routine Maintenance and Troubleshooting
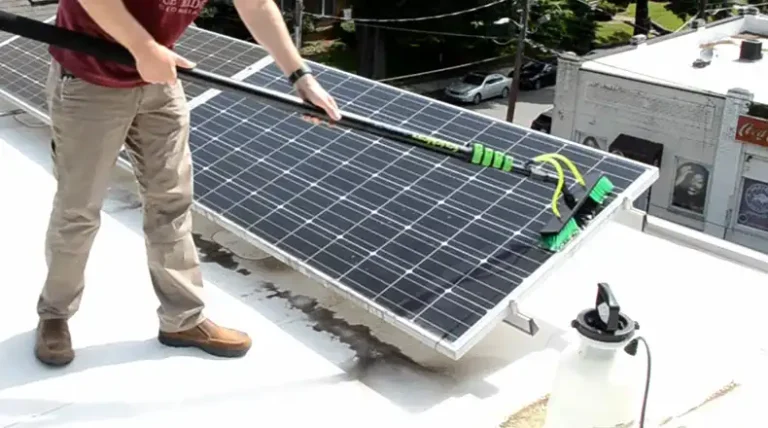
To keep your hybrid solar kit operating at peak performance, you’ll need to perform regular maintenance tasks, such as:
- Inspecting solar panels for any damage or debris buildup
- Checking battery connections and electrolyte levels (if applicable)
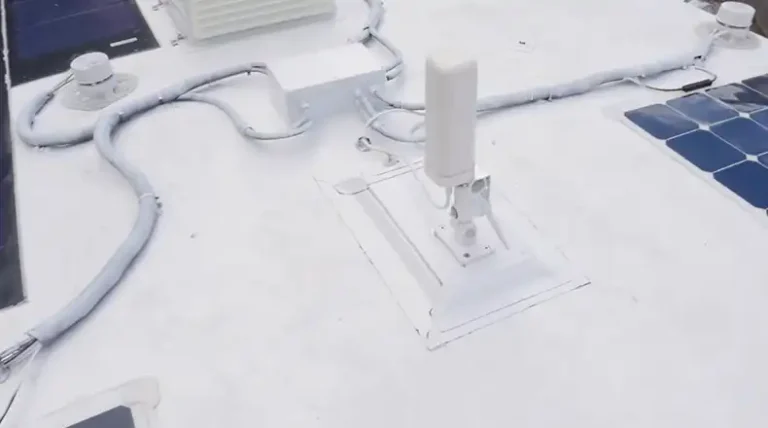
- Cleaning the inverter/charger and ensuring proper ventilation
- Updating any firmware or software for the system components
Additionally, familiarize yourself with the troubleshooting guides provided by the manufacturer, so you can quickly identify and resolve any issues that may arise. If you encounter persistent problems, don’t hesitate to reach out to the customer support team for assistance.
Final Words
The hybrid solar kit represents a versatile and comprehensive solution for homeowners looking to take control of their energy needs and reduce their reliance on traditional power sources. By carefully planning, installing, and maintaining your hybrid system, you can enjoy the benefits of reliable, cost-effective, and sustainable power generation.
Remember, the key to getting the most out of your hybrid solar kit is to approach the process methodically, from the initial site assessment to the ongoing monitoring and optimization. With the right preparation and attention to detail, you can ensure your hybrid power system operates at peak efficiency, providing a reliable and environmentally friendly energy source for your home.