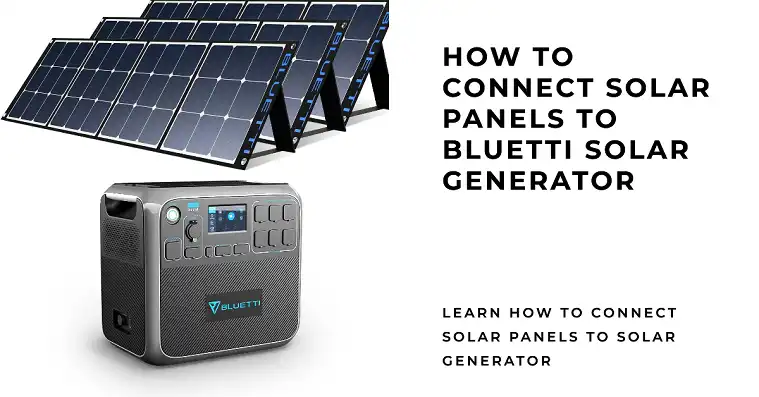
How to Connect Solar Panels to Bluetti Solar Generator
As the demand for sustainable energy grows, solar generators have become a popular solution for off-grid power. Bluetti, a leading brand in this field, is renowned for producing reliable and efficient solar generators tailored for various needs. Models like the AC200P, EB150, and EB240 are known for their high capacities, advanced features, and multiple output options. To fully maximize their potential, however, understanding how to properly connect Bluetti generators to solar panels is essential. This article will walk you through the process, ensuring optimal performance and efficiency for your off-grid power setup.
How to Choose Compatible Panels for Solar Generators
When selecting solar panels for your Bluetti generator, it’s important to consider the type, voltage, and wattage. Bluetti generators typically work best with monocrystalline or polycrystalline panels, as these offer high efficiency and durability.
The voltage of your solar panel setup should fall within the range specified for your Bluetti model. For most Bluetti generators, this is between 35V and 150V. As for wattage, while you can connect panels that exceed the maximum input wattage of your generator, the excess power simply won’t be utilized.
Some recommended solar panel options include:
- Bluetti’s own SP200 200W panel
- Renogy 100W 12V Monocrystalline panels
- RICH SOLAR 200W 12V Monocrystalline panels
What Tools Do You Need to Connect Solar Panels to Your Bluetti
To connect your solar panels to a Bluetti generator, you’ll need:
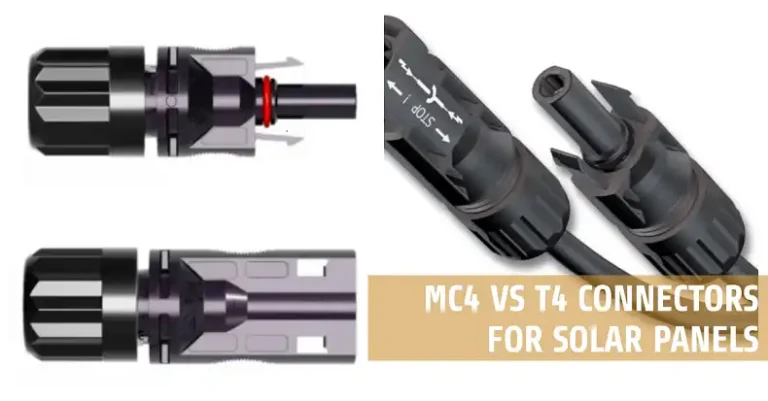
- MC4 connectors (usually come with the solar panels)
- Cables (ensure they’re rated for outdoor use and can handle the current)
- Adapters (if your panels don’t have MC4 connectors)
- Safety equipment: gloves and safety glasses
It’s worth noting that Bluetti generators typically come with the necessary cables to connect to solar panels, but it’s always good to double-check before starting your setup.
How to Connect Solar Panels to Bluetti Solar Generator: Step-by-Step
Step 1: Positioning Solar Panels
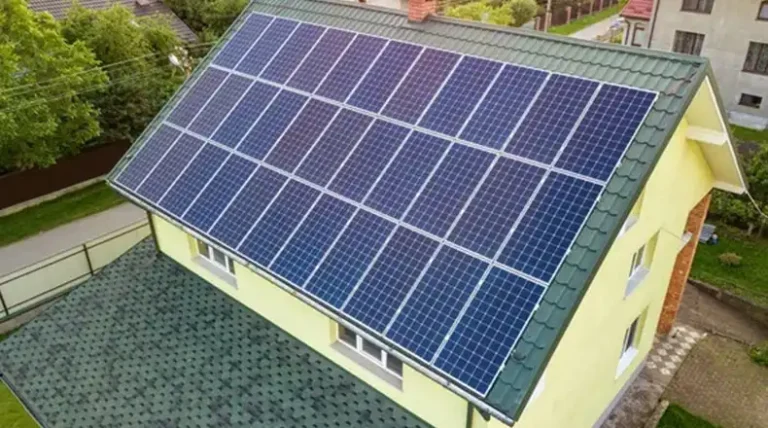
The first step in setting up your solar charging system is to position your panels correctly. Ideally, they should face south in the Northern Hemisphere (or north in the Southern Hemisphere) and be angled at approximately your latitude in degrees. For example, if you’re at 40° latitude, your panels should be angled at about 40° from horizontal.
Ensure there are no obstructions casting shadows on the panels, as even partial shading can significantly reduce power output.
Step 2: Connecting Multiple Panels
If you’re using multiple panels, you’ll need to decide whether to connect them in series or parallel.
In a series connection, the voltage of the panels adds up, while the current remains the same. This is often preferred for Bluetti generators as it allows for higher voltage input. To connect in series, link the positive terminal of one panel to the negative terminal of the next.
In a parallel connection, the current adds up while the voltage remains the same. This can be useful if you need to stay within the voltage limits of your generator. To connect in parallel, link all positive terminals together and all negative terminals together.
If you’re using four 100W 12V panels, a series-parallel configuration can be optimal. Connect two pairs in series, then connect these two pairs in parallel. This would result in a 24V 400W array, which is well-suited for most Bluetti generators.
Step 3: Connecting Panels to the Bluetti Generator
- Locate the solar input port on your Bluetti generator. It’s usually clearly labeled.
- If your solar panel setup uses MC4 connectors, simply plug these into the corresponding connectors on the Bluetti’s input cable.
- Ensure all connections are secure and protected from the elements.
- Turn on your Bluetti generator and check the display to confirm it’s receiving power from the solar panels.
Monitoring and Optimizing Solar Charging
Once connected, you can monitor the charging process via the Bluetti’s display. This will show you the current input wattage from your solar panels.
To optimize charging:
- Adjust panel angles throughout the day if possible to follow the sun’s path.
- Keep panels clean and free from debris.
- On partly cloudy days, consider using a lower-capacity appliance to avoid depleting the battery faster than it can charge.
Charging times will vary based on your setup and conditions. As a rough estimate, a 2000Wh Bluetti AC200P could be fully charged in about 3-4 hours with optimal 700W solar input.
Wrapping Up
Connecting solar panels to your Bluetti solar generator is a straightforward process that can significantly enhance your off-grid power capabilities. By following these steps and maintaining your system properly, you can enjoy reliable, sustainable energy wherever you go.
Remember, the key points for a successful setup are:
- Choose compatible solar panels
- Connect panels correctly (series or parallel)
- Position panels for optimal sunlight exposure
- Ensure secure and safe connections
- Monitor and maintain your system regularly
With these guidelines in mind, you’re well-equipped to harness the power of the sun with your Bluetti solar generator.