How to Fix Broken Wire on Solar Lights?
Solar-powered outdoor lighting is an excellent way to brighten up your yard or garden area in an environmentally-friendly, low-cost way. But sometimes wiring issues like breaks or frays can crop up, leaving you with unhelpful dark patches.
Don’t worry though – in many cases, you can revive those solar lights yourself by repairing the damaged wiring section. With some basic tools and the right technique, fixing a broken wire is a pretty straightforward task that can save you from having to replace the whole light unit.
Of course, leaving broken wiring risks shock hazards if bare conductors are exposed. Addressing any issues promptly is wise for both light operation and safety. This guide will walk you through the process of locating the problem area and properly splicing the wires back together for a reliable repair you can feel good about.
Tools You’ll Need for Fixing the Broken Wire of Solar Lights
Before we get started on the repair process, let’s go over the tools you’ll need to have on hand.
Wire Cutters: These sharp snippers will help you isolate the broken section of the wire.
Wire Strippers (Optional): While not essential, wire strippers can make reconnecting the wires a breeze by removing a small amount of insulation from the ends.
Soldering Iron & Solder (Optional): For a more permanent and weatherproof fix, a soldering iron and solder will create a strong connection between the wires.
Electrical Tape: This trusty insulator will be your go-to for both temporary and permanent fixes, depending on your chosen repair method.
Screwdriver: A small screwdriver might be needed to access the wiring compartment of your solar lights if it’s secured with screws.
Steps for Fixing the Broken Wire of Solar Lights
Now that you have the necessary tools gathered, let’s get into the step-by-step guide for fixing that broken solar light wire. Follow these instructions carefully to ensure proper repair.
Locate the Break: Carefully inspect the full length of wiring, looking for any cuts, frays, or areas where the metal conductor is visible through the insulation. That’s where the break lies.
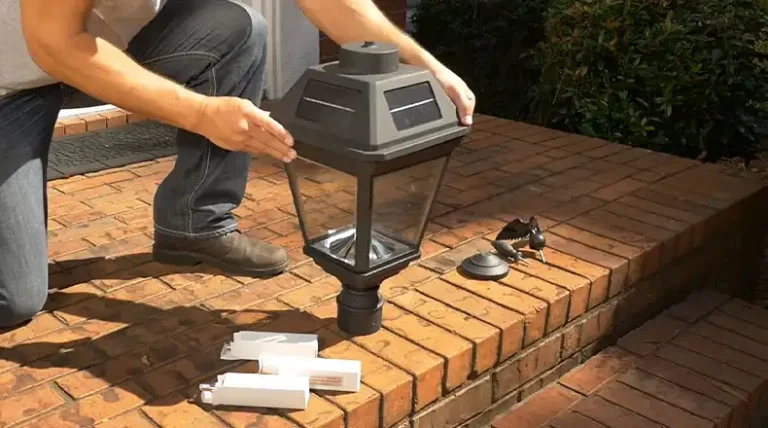
Open It Up: For wires inside the light housing itself, you’ll likely need to unscrew a cover or panel to get at the wiring. Check the instructions for access points.
Cut Away Damage: Use the wire cutters to snip the cable a few inches above and below the broken section to remove the compromised area entirely, leaving clean wire ends.
Strip the Ends (Optional): If soldering, use the wire strippers to remove about 1/2 inch of insulation from each end, exposing the bare metal for a solid connection.
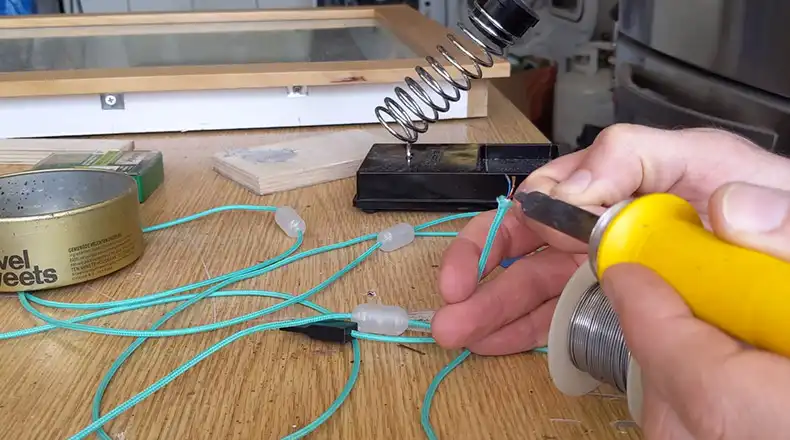
Reconnect Wires: You have two main options here:
- For a professional, permanent fix, twist the bare ends together, then use the soldering iron to fuse them into one continuous wire.
- If you just need a quick repair, you can tightly twist the ends together and wrap electrical tape over the splice to insulate it (though this is less durable long-term).
Insulate Well: Whichever method you use, it’s critical to cover the entire splice area generously with that electrical tape to seal out moisture and prevent shorts or hazards.
Test and Reassemble: Put it all back together, set the solar lights out to charge, and check that your repair worked once the night falls! Successful fix? You’re all set!
Wrapping Up
Electrical repairs don’t have to be intimidating or expensive. By following the straightforward steps outlined in this guide, you can easily restore those dark solar lights to full working condition with a simple wire splice. Just locate the break, prep the wire ends, rejoin them securely, and insulate well.
Don’t let a minor wiring issue rob you of your solar lights’ convenience and ambiance. With some basic tools and a little patience, you’ve got this repair in the bag. Bask in that cost-saving, eco-friendly glow once more!