How to Install Solar Panels on Metal Roofs | Complete Guide
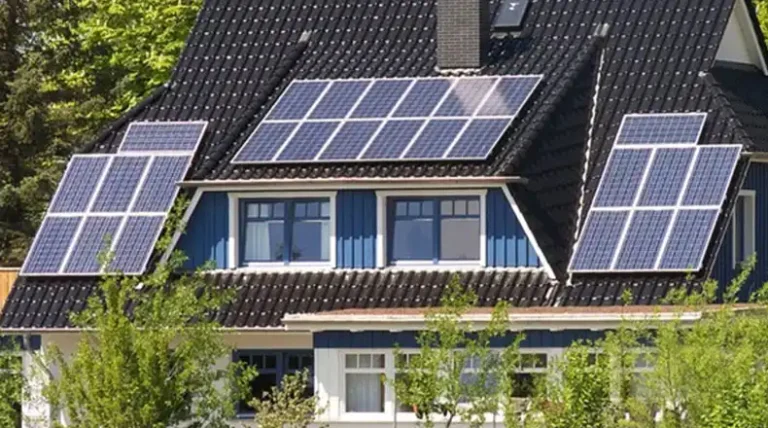
Solar panels can be easily installed on metal roofs, making them an excellent choice for homeowners looking to harness renewable energy. Metal roofs provide the structural strength and reflectivity needed to maximize the efficiency of solar installations.
Even though there are various metal roof types, the installation process is simplified by the use of specialized mounting systems that can be directly clamped to the roof’s standing seams, eliminating the need for drilling.
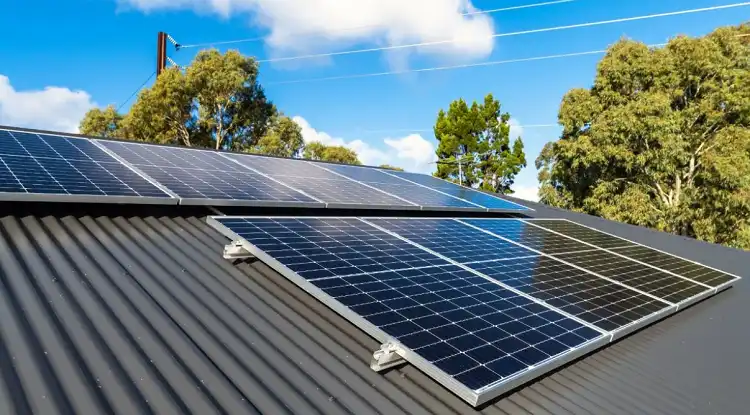
How to Install Solar Panels on Standing Seam Roof?
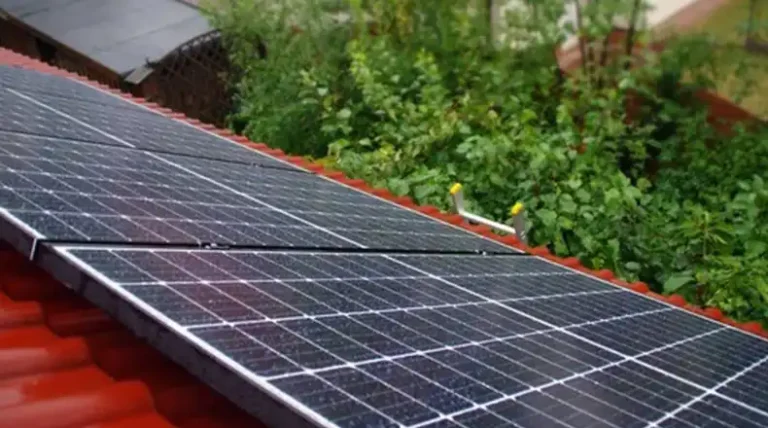
Installing solar panels on a standing seam metal roof is often considered one of the most straightforward and least invasive methods. The process begins with securing mounting rails to the roof seams using specialized clamps.
Step 1: Secure Mounting Rails
Use specialized clamps to attach the mounting rails to the roof seams. These clamps grip the seams without penetrating the roof surface, maintaining integrity and waterproofing.
Ensure the clamps, typically made of aluminum or stainless steel, are resistant to corrosion and can withstand high wind loads.
Step 2: Install Solar Panels
Position the solar panels on the mounting rails. Secure the panels with bolts or clips designed for the specific mounting system being used. Make electrical connections as each panel is placed, connecting them in series or parallel as per the system design.
Step 3: Wiring and Inverter Installation
Route the wiring from the panels to the inverter, converting the DC electricity produced by the panels to AC electricity for home use.
Install the inverter near the main electrical panel. In some cases, use micro-inverters attached to individual panels instead of a central inverter.
Step 4: System Inspection and Testing
Conduct a thorough inspection of all electrical connections. Verify the proper functioning of the inverter and ensure the system is producing the expected power output. Set up monitoring systems to track solar production in real-time.
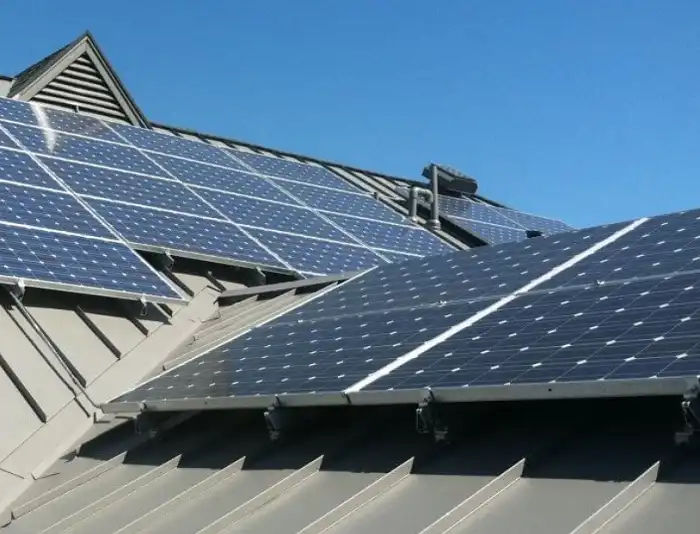
How to Install Solar Panels on Corrugated Metal Roofs?
Installing solar panels on a corrugated metal roof requires a slightly different approach compared to standing seam roofs. The process begins with attaching mounting brackets to the roof ridges.
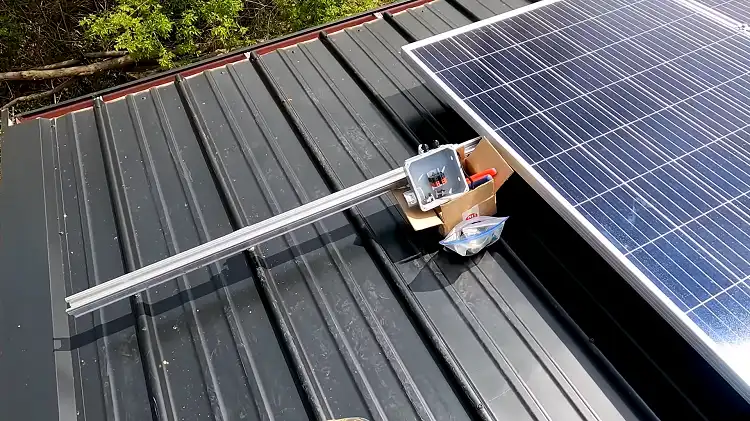
Step 1: Attach Mounting Brackets
Attach mounting brackets to the roof ridges using heavy-duty bolts or screws. Apply a high-quality sealant around each mounting point to ensure watertightness and distribute the load of the solar array across the roof surface.
Step 2: Secure Rails
Attach rails to the mounting brackets, creating a level surface for the solar panels.
Step 3: Install Solar Panels
Position the solar panels on the rails. Secure the panels with bolts or clips designed for the specific mounting system being used. Make electrical connections as each panel is placed, linking them according to the system design.
Step 4: Wiring and Inverter Installation
Now carefully route the wiring from the panels to the inverter, ensuring wire runs are neat and protected. Use additional conduit or protective coverings as needed. Install the inverter near the main electrical panel. In some cases, use micro-inverters attached to individual panels instead of a central inverter.
Step 5: System Inspection and Testing
Conduct a detailed inspection of all electrical connections. Ensure the inverter is functioning correctly and the system is producing the anticipated power. Re-inspect all roof penetrations to ensure they remain properly sealed.
How to Install Solar Panels on Trapezoidal Metal Roofs?
Installing solar panels on a trapezoidal metal roof requires specialized mounting brackets designed to fit the contours of the roof profile. The process involves careful planning to align with the roof’s distinctive wave-like pattern.
Step 1: Attach Mounting Brackets
Secure specially designed mounting brackets to the flat tops of the trapezoidal ridges. This often involves drilling through the roof material. Apply high-quality sealants and flashings around each mounting point to maintain the roof’s waterproof integrity.
Step 2: Install Mounting Rails
Attach mounting rails to the brackets, ensuring they’re level and properly aligned with the roof’s trapezoidal pattern. This creates a stable base for the solar panels.
Step 3: Position Solar Panels
Place the solar panels onto the mounting rails. Secure them using the appropriate hardware for your chosen mounting system. Make electrical connections as each panel is installed, following the system design for series or parallel connections.
Step 4: Wiring and Inverter Installation
Carefully route the wiring from the panels to the inverter location. Use protective conduit where necessary to shield wires from weather exposure. Install the inverter near the main electrical panel, or use micro-inverters if that’s part of your system design.
Step 5: System Inspection and Testing
Thoroughly inspect all electrical connections and mounting points. Verify that the inverter is functioning correctly and the system is producing the expected power output. Double-check all roof penetrations to ensure they’re properly sealed.
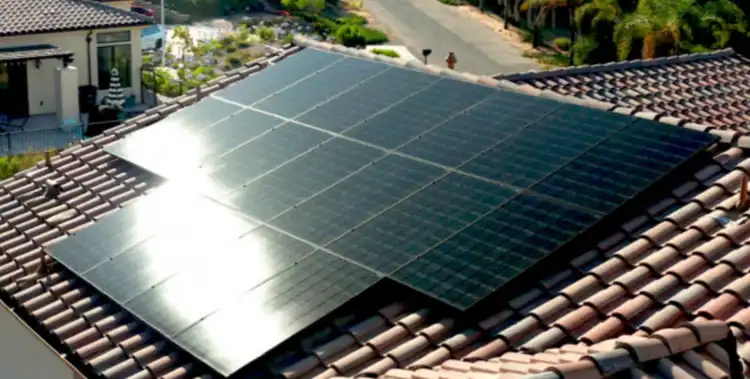
How to Install Solar Panels on Metal Tile Roofs?
Installing solar panels on metal tile roofs requires an approach that maintains the roof’s water-shedding ability while providing a secure mounting for the solar array.
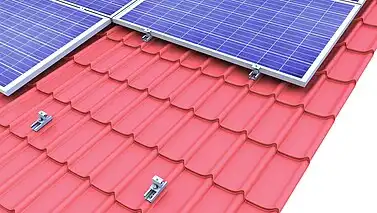
Step 1: Remove and Prepare Tiles
Carefully remove the metal tiles where mounting hardware will be attached. This allows access to the roof deck for secure anchoring.
Step 2: Install Mounting Points
Attach mounting brackets or posts directly to the roof deck at the exposed points. Use appropriate flashing and sealants to ensure water-tightness. Replace the removed tiles, cutting them as necessary to accommodate the mounting hardware.
Step 3: Attach Mounting Rails
Install a rail system that spans across multiple tiles, connecting to the mounted brackets or posts. Ensure the rails are level and securely fastened.
Step 4: Install Solar Panels
Position the solar panels on the mounting rails. Secure them using the specified hardware for your mounting system. Make electrical connections between panels as you go, following the system design.
Step 5: Wiring and Inverter Installation
Route the wiring from the panels to the inverter location, using appropriate methods to protect the wires from exposure. Install the inverter near the main electrical panel, or set up micro-inverters if that’s part of your system design.
Step 6: System Inspection and Testing
Perform a comprehensive inspection of all electrical connections and mounting points. Verify the inverter’s proper functioning and ensure the system is producing the expected power output. Carefully check all altered roof areas to confirm water-tightness.
How to Install Solar Panels on Metal Shingle Roofs?
Installing solar panels on metal shingle roofs requires careful attention to maintain the roof’s weather resistance while providing multiple secure attachment points for the solar array.
Step 1: Prepare the Roof and Remove the Shingles
Identify and mark the locations for mounting hardware. Carefully remove the metal shingles at these points to access the roof deck.
Step 2: Install Mounting Hardware
Securely attach mounting brackets or posts to the roof deck at the exposed points. Use appropriate flashing and sealants to ensure water-tightness. Replace the removed shingles, modifying them as necessary to fit around the mounting hardware.
Step 3: Attach Mounting Rails
Install a rail system that connects to the mounted brackets or posts, spanning across multiple shingles. Ensure the rails are level and firmly secured.
Step 4: Position Solar Panels
Place the solar panels onto the mounting rails. Secure them using the specified hardware for your chosen mounting system. Make electrical connections between panels as you install them, following the system design for series or parallel connections.
Step 5: Wiring and Inverter Installation
Carefully route the wiring from the panels to the inverter location. Use protective conduit or other appropriate methods to shield wires from weather exposure. Install the inverter near the main electrical panel, or set up micro-inverters if that’s part of your system design.
Step 6: System Inspection and Testing
Conduct a thorough inspection of all electrical connections and mounting points. Verify that the inverter is functioning correctly and the system is producing the expected power output. Carefully re-inspect all altered roof areas to ensure they remain watertight and that the shingles are properly reinstalled.
Conclusion
Installing solar panels on metal roofs, whether standing seam or corrugated, offers an excellent opportunity to combine renewable energy with a durable, long-lasting roofing solution. While the processes differ slightly between roof types, both methods can result in efficient, aesthetically pleasing solar installations. By carefully considering relevant factors and following proper installation procedures, you can create your own sufficient solar energy system.
Related FAQs
Can the weight of solar panels damage my metal roof?
Generally, metal roofs are well-suited to handle the additional weight of solar panels. A typical solar panel system adds about 2.5-4 pounds per square foot to your roof’s load. Most metal roofs are designed to support much more than this.
How does the color of my metal roof affect solar panel efficiency?
The color of your metal roof can indeed impact solar panel efficiency, but perhaps not in the way you might expect. While darker roofs absorb more heat, this doesn’t necessarily translate to better solar panel performance. Lighter-colored metal roofs, which reflect more sunlight, can help keep the panels cooler. Solar panels operate more efficiently at lower temperatures (25°C).
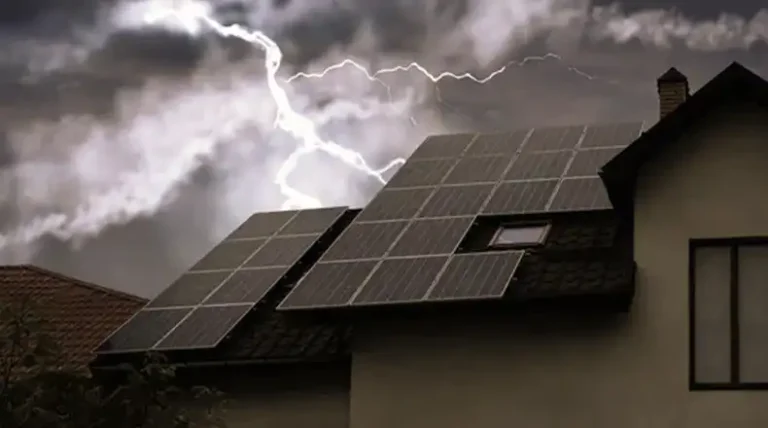
How do extreme weather conditions affect solar panels on metal roofs?
Properly installed solar panels on metal roofs generally withstand extreme weather well. They’re resistant to high winds and hail. Metal roofs help shed snow, benefiting panels. But while metal roofs can get hot, most panels may not operate efficiently in high temperatures.