How to Install Monocrystalline Solar Panels? Explained
Monocrystalline panels are a popular choice when it comes to installing solar panels. This guide will explain how to install them yourself, step-by-step. We’ll cover everything from checking your roof to connecting the panels. We’ll also mention safety tips and things to consider, like permits. By the end, you’ll be able to install monocrystalline solar panels yourself.
So, without any further ado, let’s get started!
What are Monocrystalline Solar Panels?
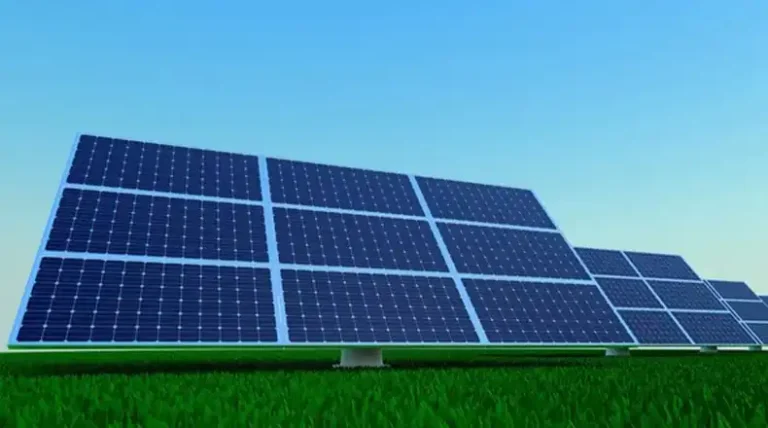
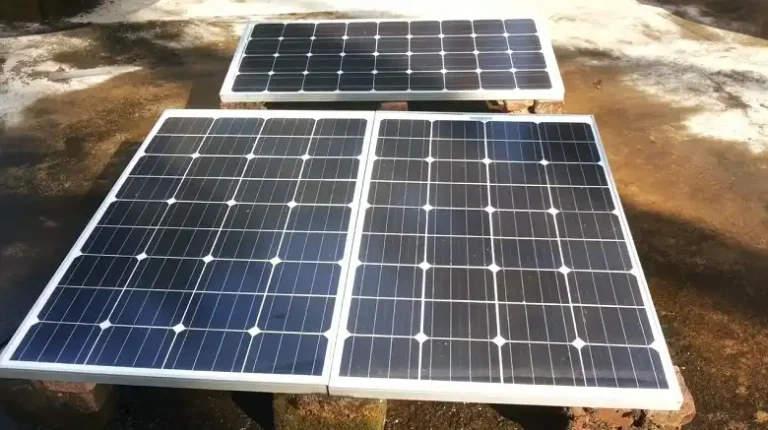
Monocrystalline solar panels are a type of photovoltaic (PV) panel made from a single, continuous crystal of silicon. They are known for their high efficiency in converting sunlight into electricity, typically ranging from 15% to 20%.
The manufacturing process for monocrystalline panels involves growing a single, cylindrical crystal of silicon, which is then sliced into thin wafers to create the individual solar cells. These panels are characterized by their uniform, dark black color and their sleek, modern appearance.
How Do Monocrystalline Solar Panels Work?
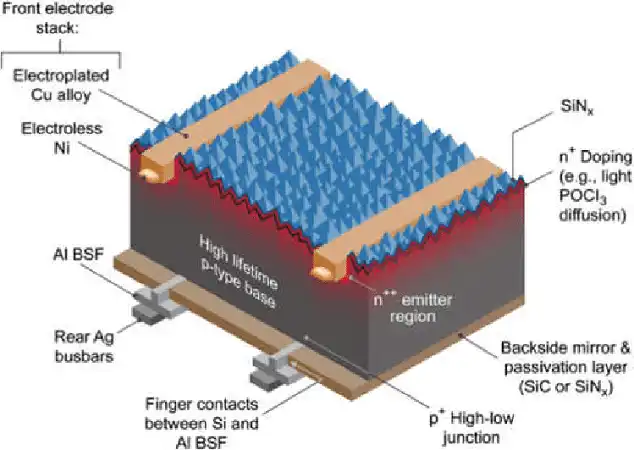
Monocrystalline solar panels work on the principle of the photovoltaic effect, which is the ability of certain materials, like silicon, to convert sunlight directly into electrical energy. When sunlight (photons) strikes the silicon crystal structure of the solar cell, it knocks electrons loose from their atoms, allowing them to flow freely and create an electrical current.
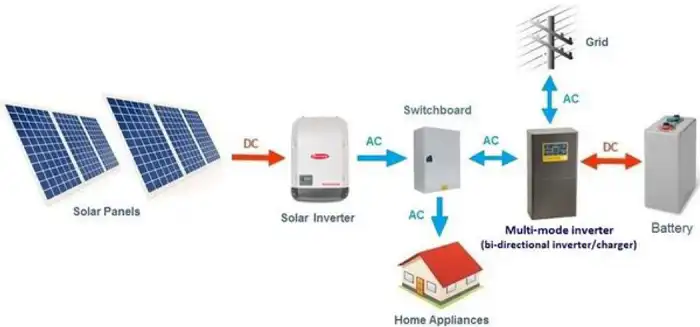
The solar cells in a monocrystalline panel are arranged in a series and parallel configuration, and the electrical current generated by each cell is combined to produce a higher voltage and amperage output. This output is then fed into an inverter, which converts the DC electricity produced by the panels into AC electricity.
Installation of Monocrystalline Solar Panels
Installing monocrystalline solar panels is a multi-step process that requires careful planning, adherence to safety guidelines, and compliance with local regulations. Here’s an overview of the installation process –
Site Assessment and Planning
Evaluate your roof’s condition, orientation, and potential for shading using site assessment tools like a sun path calculator and shading analysis software or tools. A sun path calculator helps determine the optimal roof orientation and tilt angle for maximum solar exposure throughout the year. Shading analysis involves assessing potential obstructions (trees, buildings, chimneys) that could cast shadows on the solar panels, reducing their efficiency.
Determine your energy needs by reviewing past electricity bills and calculating your average daily/monthly energy consumption in kilowatt-hours (kWh). Calculate the required system size based on your energy needs, available roof space, and the wattage of the monocrystalline panels you plan to install.
Use the formula: System Size (kW) = Annual Energy Needs (kWh) / (Annual Peak Sun Hours x Panel Generation Factor)
For example, if your annual energy needs are 12,000 kWh, your location receives 4 peak sun hours per day, and your panels have a generation factor of 0.8, your system size would be: 12,000 kWh / (4 x 365 x 0.8) = 8.22 kW.
Obtaining Permits and Incentives
Check with local authorities for necessary building permits, electrical permits, and any specific regulations or codes related to solar panel installations. Research and apply for available incentives, such as federal or state tax credits, rebates, or net metering programs offered by your utility company.
Roof Preparation
Clean the roof thoroughly to ensure a secure and stable installation. Perform any necessary repairs or reinforcements to ensure the roof can support the weight of the solar panels and mounting system. Consult a structural engineer if there are concerns about your roof’s load-bearing capacity. If your roof’s angle is not optimal for solar exposure, consider installing tilt kits or adjustable mounting systems.
Required Tools and Materials
Safety equipment: hard hats, safety glasses, gloves, non-slip shoes, and fall protection gear (harnesses, anchors)
Tools: power drill, drill bits, wrenches, pliers, wire strippers, crimping tools, voltage tester, level, chalk line, tape measure
Mounting system components: rails, clamps, bolts, flashing, sealants
Electrical components: DC disconnect switch, conduit, junction boxes, MC4 connectors, grounding equipment
And solar panels and inverter(s) suitable for your system size.
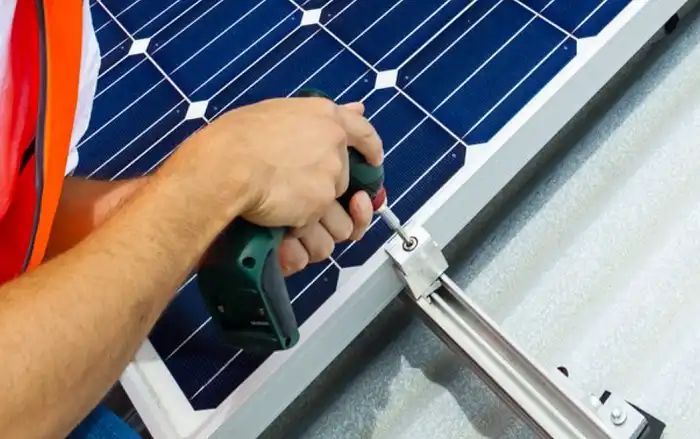
Mounting System Installation
Select a mounting system suitable for your roof type (e.g., composition shingle, tile, metal) and the weight of the solar panels.
Install the mounting rails or brackets according to the manufacturer’s instructions, ensuring they are level, properly spaced, and securely attached to the roof structure.
- Step 1: Use a chalk line to mark the layout and ensure proper alignment.
- Step 2: Secure the mounting system with appropriate lag bolts or anchors, ensuring they penetrate the roof rafters or trusses.
If using a ballasted mounting system (for flat roofs), properly distribute the weight according to the manufacturer’s guidelines.
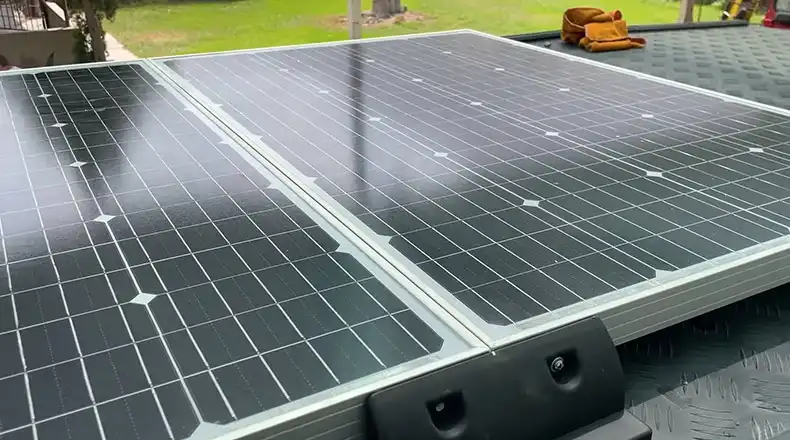
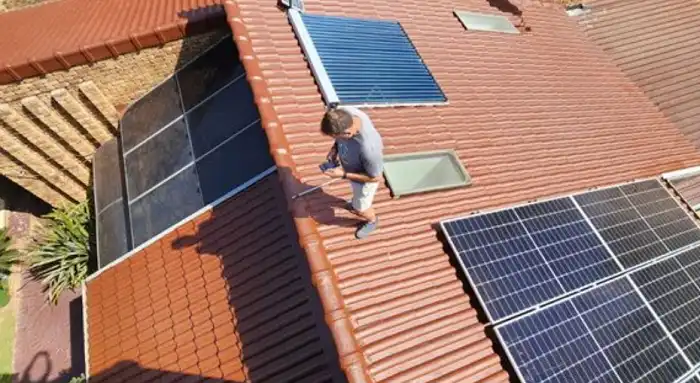
Solar Panel Installation
Carefully lift and secure the monocrystalline solar panels onto the mounting system, ensuring proper spacing and alignment. Use specialized equipment to safely lift and maneuver the panels onto the roof. Use panel grounding clips or lugs to ground each panel to the mounting system for safety.
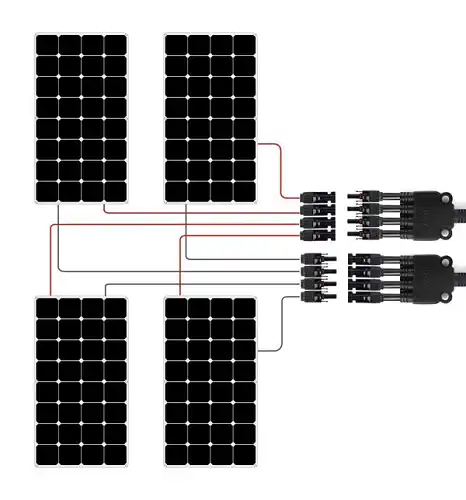
Connect the panels in series (for higher voltage) or parallel (for higher current) configurations using MC4 connectors or other approved methods. Ensure all connections are secure and waterproof.
Electrical Wiring and Inverter Installation
Run the necessary electrical wiring from the solar panels to the inverter location, using appropriate conduits and following local electrical codes. Use proper wire sizing based on the system’s voltage and current requirements.
Install the inverter in a cool, dry, and well-ventilated location, following the manufacturer’s instructions. Ensure the inverter is easily accessible for maintenance and monitoring.
Connect the solar panel array’s DC output to the inverter’s DC input terminals, ensuring proper polarity and secure connections.
Connect the inverter’s AC output to your main electrical panel, following local electrical codes and safety guidelines. Install a dedicated circuit breaker for the solar system in your electrical panel.
Inspection and Approval
Have your installation inspected by a certified solar inspector or local authority to ensure compliance with codes and regulations. If connecting to the grid, work with your utility company to complete an interconnection inspection and obtain approval for grid connection.
Grid Connection (if applicable)
If you’re connecting your solar system to the grid, work with your utility company to complete the interconnection process, which may involve additional inspections and paperwork. Set up net metering (if available in your area), which allows you to receive credits for any excess energy your solar system feeds back into the grid.
Things You Need to Know Before Installing Solar Panels
Before embarking on a solar panel installation project, there are several important considerations to keep in mind –
- Your roof should be in good structural condition and ideally oriented for optimal sun exposure.
- Evaluate potential shading from trees, buildings, or other obstructions that could reduce the efficiency of your solar panels.
- Research available incentives, such as tax credits, rebates, or net metering programs, that can significantly reduce the overall cost of your solar system.
- If you plan to connect your solar system to the grid, understand your utility company’s interconnection requirements and net metering policies.
- Accurately assess your household’s energy consumption and determine the appropriate system size to meet your needs while considering future energy usage changes.
End Note
Installing monocrystalline solar panels is a significant investment that requires careful planning, adherence to safety guidelines, and compliance with local regulations. By following the steps outlined in this guide, you can ensure a safe, efficient, and long-lasting solar power system for your home.
Remember to assess your energy needs, obtain necessary permits, explore available incentives, and choose high-quality monocrystalline panels from reputable manufacturers. While the installation process can be complex, the long-term benefits of renewable energy and reduced energy costs make it a worthwhile endeavor.
Frequently Asked Questions
How long do monocrystalline solar panels last?
Most reputable manufacturers generally offer warranties of 25 years on their monocrystalline panels, covering performance and material defects. With proper installation and maintenance, these panels can even continue to operate effectively for over 30 years.
Can monocrystalline solar panels work in cloudy or rainy conditions?
Yes, monocrystalline solar panels can still generate electricity in cloudy or rainy conditions, although their output will be reduced compared to direct sunlight. The panels can utilize diffused or reflected sunlight to generate power, albeit at a lower efficiency.
How much maintenance do monocrystalline solar panels require?
Monocrystalline solar panels require minimal maintenance. Regular cleaning (every few months depending on location) is recommended to remove dust and debris for optimal performance. Additionally, periodic inspections are advised to ensure any signs of damage or wear.