Renogy Battery Monitor Installation | Complete Guide
Installing a battery monitor is essential in setting up your off-grid or renewable energy system. It provides valuable insights into the health and performance of your battery bank, helping you make informed decisions about energy consumption and system maintenance.
Renogy, a leading renewable energy solutions provider, offers a range of battery monitors designed to cater to different system sizes and needs. Regardless of your solar system size, the Renogy battery monitor will seamlessly integrate with your system.
This article will guide you through choosing the right Renogy battery monitor and the installation steps.
Why Use a Renogy Battery Monitor?
In a solar power system, the battery bank is where the energy harnessed from the sun gets stored for later use. And Renogy battery monitor offers a range of facilities for your solar system.
Lasting Batteries: Avoid damage from deep discharge, overcharging, and heat. Monitor tracks vitals (SoC, voltage, temperature) to extend battery life.
Smart Energy Use: Identify power hogs and adjust habits. Maximize system efficiency and avoid unexpected outages.
Top System Performance: The monitor keeps you informed on battery health. Address issues early for optimal performance and avoid costly repairs.
Remote Control (on some models): Check your system from anywhere using your phone or computer. Perfect for off-grid setups.
Accurate Data & Diagnostics: Get precise readings on voltage, current, temperature, and remaining capacity. Fix problems quickly with advanced features (on some models) like data logging and graphing.
Easy to Use: Clear displays, customizable settings, and helpful manuals make managing your system a breeze.
Choose the Right Renogy Battery Monitor
Renogy offers a range of battery monitors to cater to different system sizes and battery types. So, before selecting one, check out this quick guide –
- Match voltage (12V, 24V) to your system.
- Pick a monitor compatible with your battery type (lead-acid, lithium).
- Select a current rating that handles your system’s power draw.
- Choose a feature – basic (voltage, current) or advanced (temperature, Bluetooth).
- Prioritize a user-friendly display and easy installation.
Certain models like the Renogy DPM-LCD Duo Battery Monitor have added perks like Bluetooth connectivity, allowing you to monitor your batteries remotely through an app on your smartphone.
How Do You Install Renogy Battery Monitor?
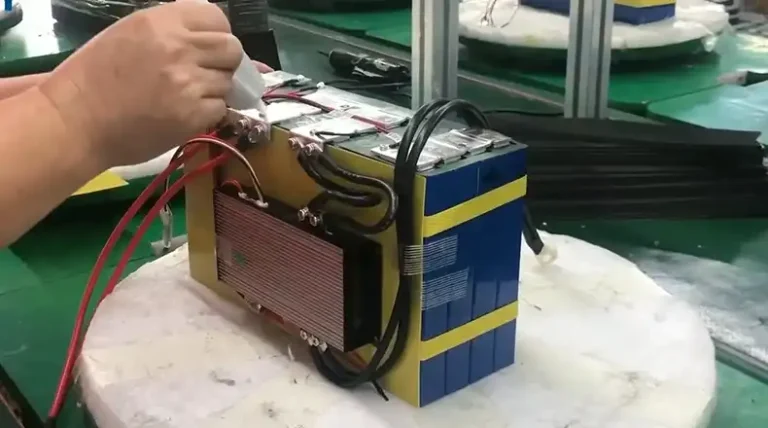
First things first, gather your tools and materials. Depending on your chosen monitor model, you’ll need things like battery cables, connectors, and maybe even a shunt (a device that measures current flow). Once you have your supplies ready, identify a suitable location for the battery monitor – somewhere easily accessible but protected from direct sunlight.
Step 1: Wiring the Battery Monitor
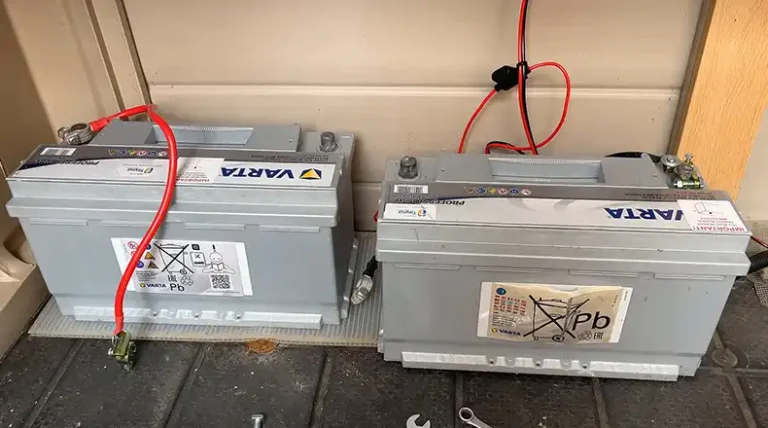
Before you start wiring, turn off your solar inverter and disconnect the battery bank. Now, connect the positive and negative cables to the corresponding terminals on your battery bank, ensuring proper polarity (positive to positive, negative to negative).
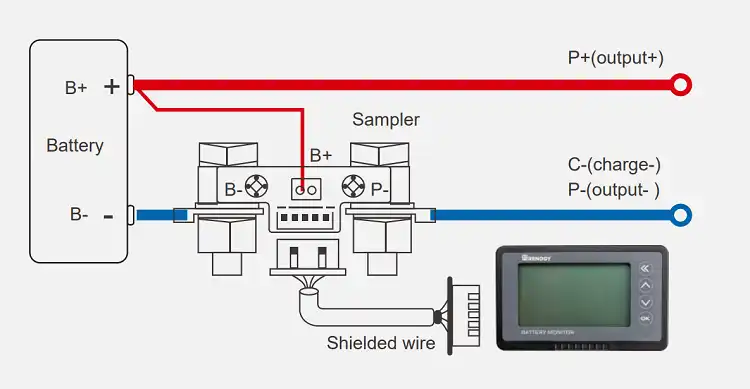
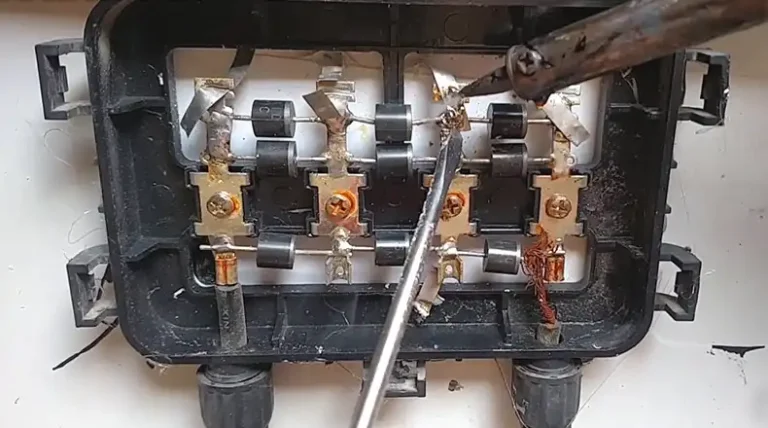
Connection diagram of Shunt / Sampler
If your monitor requires a shunt, you’ll need to connect the data cable from the monitor to the designated port on the shunt. The shunt itself should be connected in-line with the negative cable from your battery bank. Here’s how –
First, connect the shunt in series to the negative circuit of your battery. Connect the B- of the shunt to the B- of the battery. Then, connect the P- of the shunt to the P- of the output and C- of the charge. Next, take a wire (0.3-0.75 mm²) and connect one end to the positive of the battery, and the other end to the B+ of the shunt.
Finally, connect the shunt to the Renogy battery monitor using the shielded wire, and the screen should turn on.
NOTE: The shunt must be series connected to the negative circuit, not the positive circuit.
Step 2: Mounting the Monitor
The Renogy battery monitor is designed for easy installation with tabs. Start by cutting a rectangular opening on your equipment panel according to the monitor’s size. Then, insert the monitor into the opening, ensuring the tabs are locked in place.
Step 3: Initial Setup and Use
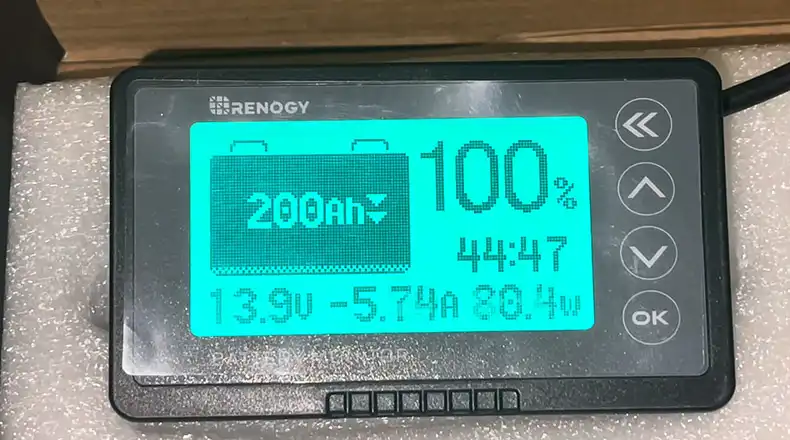
Wiring and Checking Current: After connecting everything, the battery voltage, current, and capacity percentage should be displayed on the screen. If there’s no display, turn off the power and check if the connections are correct. Discharge or charge the battery and verify that the current value on the monitor matches the actual value. If there’s a large error, double-check the wiring, ensuring all current flowing through the battery passes through the shunt.
Setting Battery Effective Capacity: The battery’s effective capacity (CAP) needs to be set correctly before first use, as per the “Usage Settings” in the manual. If the effective capacity is unknown, follow these steps: A. Enter the capacity setting interface and set the capacity value as high as possible (e.g., 30Ah if the estimated value is 20Ah). B. Discharge the battery pack until empty, and clear the capacity on the monitor to zero. C. Then, fully charge the battery pack. The monitor’s capacity should now display the actual capacity when fully charged.
Capacity Homing (Clearing or Setting Full Capacity): After initial use or battery replacement, the capacity displayed on the monitor may not be accurate. In such cases, perform a zero or full capacity operation: A. After discharging the battery (empty), press and hold the button “” to clear the capacity value to 0%. B. Or, after fully charging the battery, press and hold the button ”
” to set the capacity value to 100%.
Following these steps will ensure your Renogy battery monitor is accurately tracking and displaying your battery’s capacity and performance.
Conclusion
We know that installing a Renogy battery monitor is pretty effective when it comes to managing your solar power system’s battery bank. With this nifty device, you can track vital metrics like voltage, current, and remaining capacity, identify potential issues early on, and optimize charging and discharging cycles for longer battery life.
Follow the steps accordingly and you’ll be able to install your Renogy battery monitor successfully. And if you have any additional queries or confusion regarding the installation process or battery monitoring in general, feel free to drop a comment below. I’m always happy to help fellow solar enthusiasts like yourself!
Related FAQs
Can I use a Renogy battery monitor with any type of battery?
While Renogy battery monitors are compatible with various battery chemistries, it’s crucial to select a model specifically designed for your battery type (lead-acid, lithium, etc.) to ensure accurate readings and optimal performance.
Do I need a shunt for my Renogy battery monitor installation?
Some Renogy battery monitor models require a shunt (a device that measures current flow), while others have an integrated shunt. Consult your monitor’s specifications and installation guide to determine if you need an external shunt or not.
How often should I check my Renogy battery monitor?
It’s a good practice to regularly monitor your battery levels, especially during periods of high energy consumption or after a significant weather event that could have affected your solar system’s performance. However, the frequency ultimately depends on your specific setup and usage patterns.