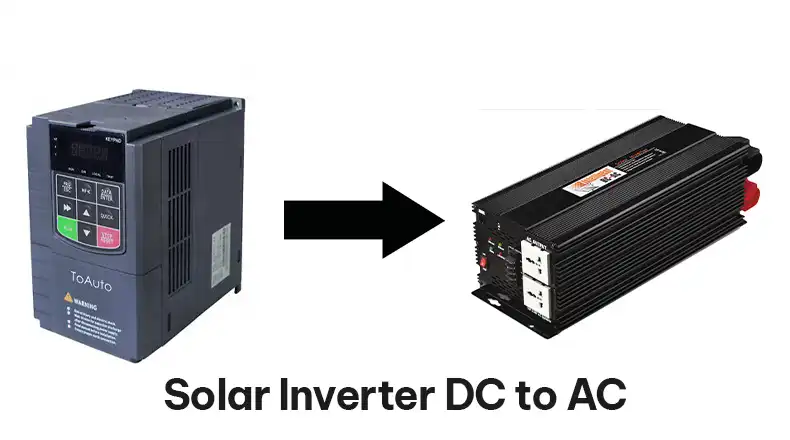
Solar Inverter DC to AC – How Inverter Convert the Electric Energy
Solar energy has become increasingly popular as a renewable power source. But have you ever wondered how those shiny solar panels on rooftops actually power our homes? The secret lies in a device called a solar inverter.
In this article, we’ll explore how solar inverters convert DC (direct current) electricity from solar panels into the AC (alternating current) power that runs our appliances. Whether you’re a solar enthusiast, a curious homeowner, or just someone who loves to understand how things work, you’re in for an enlightening journey. So, let’s shed some light on the inner workings of these incredible devices!
Procedure for Converting DC to AC by a Solar Inverter
Before we get into the details, let’s take a moment to appreciate the complexity of what a solar inverter does. It’s not just a simple on-off switch; it’s more like a conductor orchestrating a symphony of electrical components. Here’s how the magic happens:
DC Input and Filtering
Our solar adventure begins with the DC electricity generated by those shiny solar panels on your roof. This DC power is like a steady stream of electrons flowing in one direction. But here’s the thing – it’s not always a perfectly smooth flow.
Think of it like a river. Sometimes it’s rushing after a rainstorm (bright sunny day), and other times it’s a gentle trickle (cloudy weather). The solar inverter needs to deal with these fluctuations. That’s where filtering comes in.
The inverter has a special filtering stage that acts like a bouncer at a club. It keeps out the riffraff – in this case, any high-frequency noise or unwanted particles that might have snuck in with our DC current. This filtering ensures we’re starting with the cleanest possible DC power.
Power Conversion using Power Semiconductors
Now we’re getting to the heart of the matter – the actual conversion process. This is where things get really interesting!
At the core of this stage is something called an H-bridge circuit. Don’t worry if that sounds like technical jargon; I’ll break it down for you. Imagine a bridge made up of electronic components called power semiconductors. These semiconductors are like super-fast light switches that can turn on and off in the blink of an eye.
Here’s where it gets clever. By controlling these switches in a specific sequence, the inverter can flip the polarity of the DC voltage back and forth. It’s like a game of electrical ping-pong, creating a series of positive and negative voltage pulses.
But wait, you might be thinking, “Isn’t that still just DC power going back and forth?” You’re right, and that’s why we need the next stage.
Pulse Width Modulation (PWM)
Okay, so we’ve got our DC power flipping back and forth. But if we stopped here, we’d end up with a blocky, rough waveform that looks nothing like the smooth sine wave of AC power. Enter Pulse Width Modulation, or PWM for short.
PWM is like the finesse player in our electrical soccer team. It takes that rough, blocky waveform and smooths it out. How? By controlling how long each of those power semiconductor switches stays on during each cycle.
Imagine you’re trying to draw a curved line using only straight lines. If you use long, chunky lines, it’ll look pretty rough. But if you use lots of tiny lines at different angles, you can create the illusion of a smooth curve. That’s essentially what PWM does with our electrical signal.
By carefully adjusting the “on” time of each switch, PWM shapes our output to more closely resemble a true AC sine wave. It’s like sculpting with electricity!
Filtering and Smoothing
We’re getting close to our goal now, but we’re not quite there yet. Our PWM-shaped waveform is looking pretty good, but it still has some rough edges. These are high-frequency harmonics – remnants of all that rapid switching we did earlier.
This is where our inverter puts on its noise-canceling headphones. It uses components called capacitors and inductors to filter out these unwanted high-frequency components. Think of it like a bartender straining out ice cubes to give you a perfectly smooth cocktail.
This filtering process is crucial. It’s what transforms our approximation of a sine wave into a clean, smooth AC waveform that’s safe for your appliances to use.
Amplifying
We’re in the home stretch now! We’ve got our beautifully shaped AC sine wave, but there’s one last step. The voltage coming out of our inverter so far is still relatively low – too low to power your home.
This is where a transformer comes into play. It’s like the inverter’s personal trainer, bulking up that low-voltage AC into a 110V or 220V (depending on where you live) that can power all your household appliances.
The transformer works by passing our low-voltage AC through its primary winding, then magically (okay, it’s actually electromagnetism, but it might as well be magic) stepping it up to a higher voltage on the secondary side.
Wrapping up
Inverters take the sun’s electricity, which is like a raw ingredient, and turn it into the kind of electricity your home appliances need to run. It’s like transforming sunshine into power for your lights and gadgets!
By understanding solar power a little better, you can appreciate the amazing technology that lets you harness clean, renewable energy from the sun. So next time you flip on a switch powered by the sun, remember the cool tech working in the background!