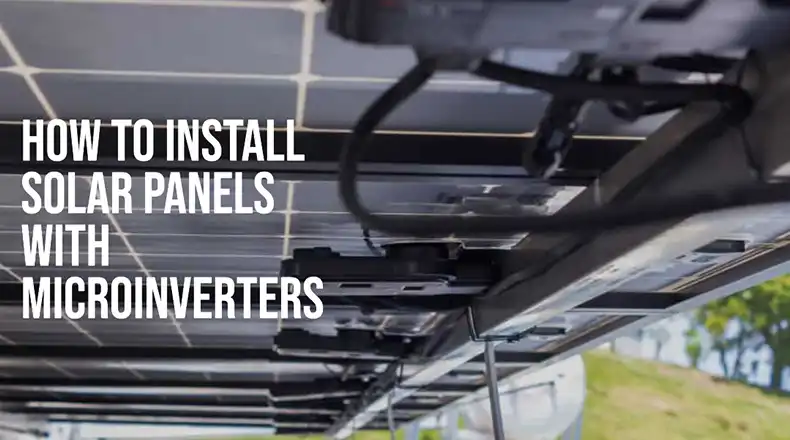
How to Install Solar Panels with Microinverters | Complete Guide
You can easily unlock the potential of solar energy with the installation of solar panels equipped with microinverters. This article covers the step-by-step process of properly installing your solar system, from planning the layout to connecting it to your home’s electrical grid. This way you can ensure a safe, efficient, and seamless solar panel installation with the benefits of microinverters.
What to Do Before Installing Solar Panels with Microinverters?
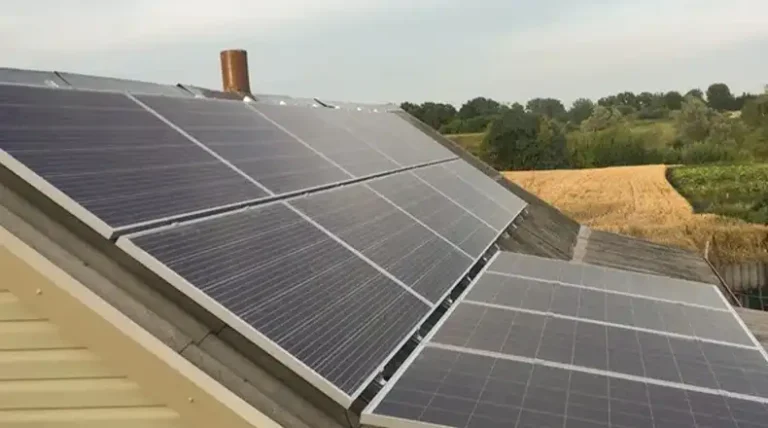
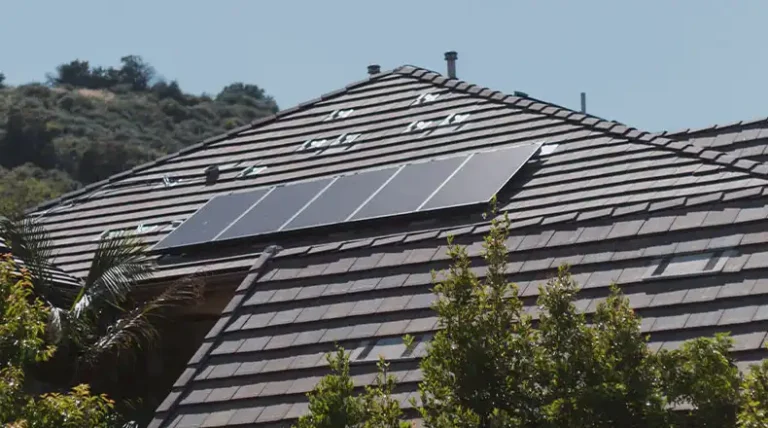
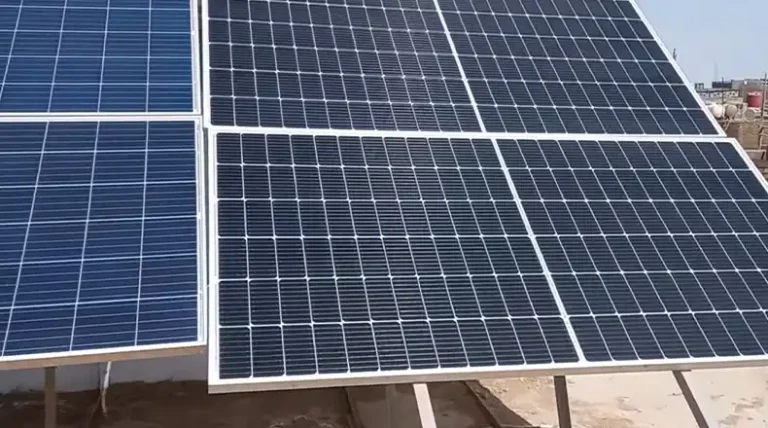
Before installing solar panels, check your roof’s suitability. Ideally, it should face south (east/west works too) with a 30-40 degree pitch for best sun capture. Ensure it’s structurally sound (2-4 lbs/sq ft weight gain) and under 10-15 years old. Finally, measure the usable area accordingly.
Now, size your solar system. Analyze past utility bills to find your average monthly kWh usage. Based on the general rule of thumb, aim for a system that generates 1,000-1,200 kWh annually per kW of panels (depending on location). Choose high-efficiency panels (20%+) for smaller space needs, but consider the cost. Select compatible microinverters and use design software (PVWatts, Aurora Solar) to optimize your panel layout.
Here’s what you’ll mainly need for your solar installation –
- Solar Panels
- Microinverters
- Mounting Hardware
- DC and AC Cables
- Grounding Equipment
- Disconnect Switch
- AC Breaker
How Do You Install Solar Panels with Microinverters?
Now that you’ve completed the preparatory steps, it’s time to begin the installation process.
Install the System
Step 1: Install Racking System
Begin by measuring and marking precise locations for the racking on your roof, using chalk lines to ensure straight alignment. Locate roof rafters with a stud finder, and secure mounting brackets to these rafters with appropriate fasteners, typically lag bolts.
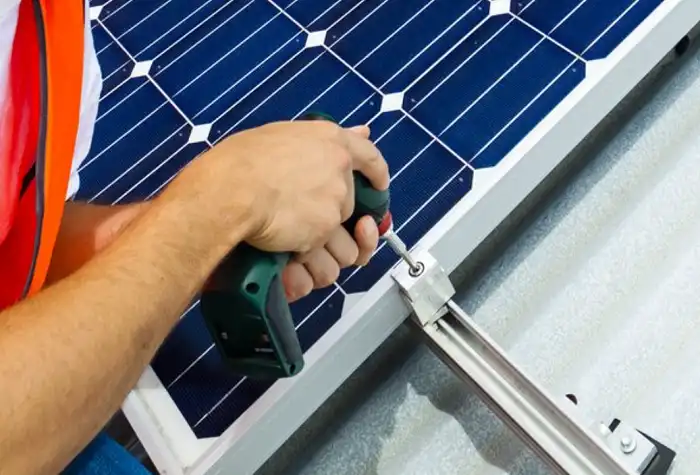
Apply roofing sealant around each penetration to prevent leaks. Attach rails to the brackets, ensuring proper alignment and levelness; use a spirit level to check that the rails are perfectly straight and parallel.
Step 2: Mount Microinverters
Choose suitable mounting locations on the racking system, typically near where each panel will be placed. Most microinverters can be mounted directly to the rails. Securely fasten microinverters to the racking, following the manufacturer’s guidelines for spacing and orientation.
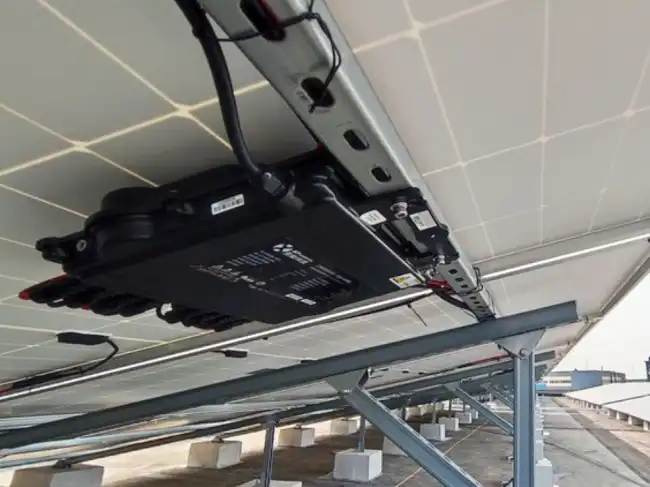
Ensure proper grounding of each microinverter, which usually involves connecting a ground wire from each microinverter to a continuous grounding conductor running along the racking.
Step 3: Wire Solar Panels to Microinverters
Use pre-assembled DC connectors for safe and efficient connections between panels and microinverters. Connect the positive and negative terminals of each panel to the corresponding terminals on its designated microinverter. Double-check that all connections are tight, secure, and weatherproof. Use cable clips or zip ties to keep wires neat and prevent them from touching the roof.
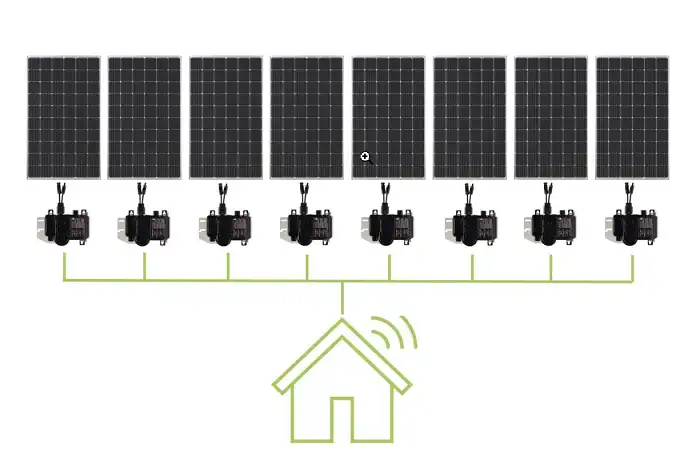
Step 4: Connect Microinverters to a Combiner Box
Daisy-chain the AC output cables from the microinverters together, following the manufacturer’s specifications for the maximum number of microinverters per branch circuit. Terminate the end of the daisy-chained cable in a weatherproof electrical box (combiner box) mounted near your main service panel. Ensure proper labeling and organization of AC cables within the combiner box for easy future maintenance.
Ensure Proper System Connection and Testing
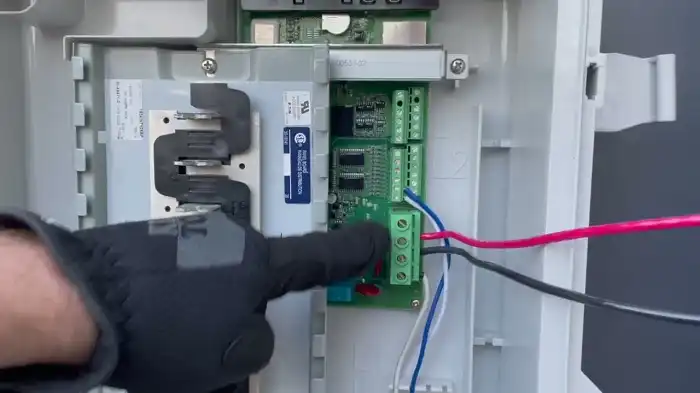
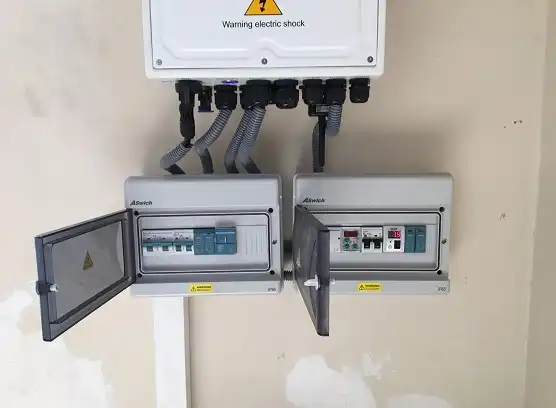
Step 1: Connect the Combiner Box to Disconnect the Switch and Ac Breaker
Connect the AC output cable from the combiner box to the disconnect switch, which should be mounted in an easily accessible location. Wire the disconnect switch to a dedicated AC breaker in your main service panel, ensuring the breaker is properly sized for your system’s output, typically 20-30 amps for residential systems. Verify that the AC breaker is compatible with your system capacity and complies with local electrical codes.
Step 2: Perform Initial System Checks and Safety Inspections
Visually inspect all connections and wiring for tightness and proper installation, looking for any signs of damage or loose components. Use a multimeter to verify proper grounding throughout the system by checking the continuity between grounding points and ensuring resistance is within acceptable limits. Test the disconnect switch to ensure it functions correctly, completely isolating the solar system from the grid when activated.
Step 3: System Commissioning
Temporarily power on individual groups of panels or the entire system, following manufacturer guidelines. Monitor system performance using the microinverter manufacturer’s monitoring tools or a portable power analyzer, verifying proper AC power generation and voltage levels. Address any identified issues, such as faulty connections or microinverters, before proceeding to the final grid connection.
Ensure Proper System Monitoring and Activation
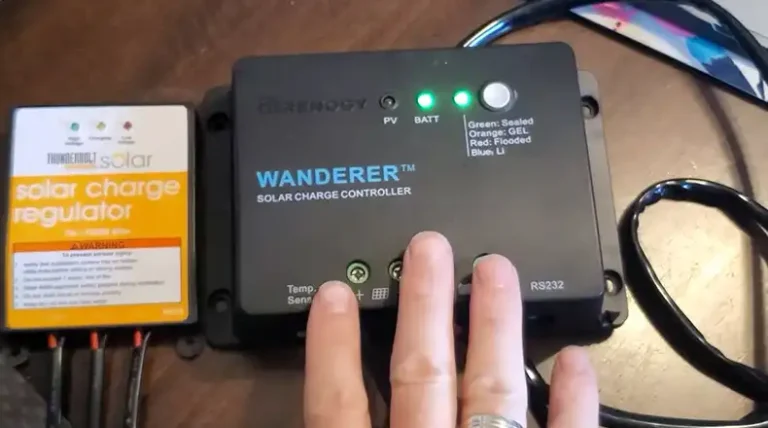
Step 1: Set Up a Microinverter Monitoring System
Set up the online monitoring platform, which typically involves creating an account and entering system details. Register your system and individual microinverters for performance tracking by inputting serial numbers or scanning QR codes on the microinverters. This registration process enables comprehensive performance monitoring of each microinverter and panel.
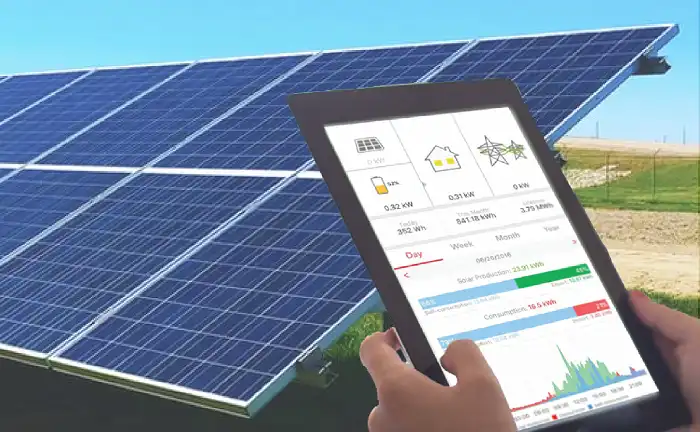
Step 2: Monitor System Performance and Troubleshoot Any Issues
Regularly check the online monitoring system for power generation data, with most platforms providing daily, weekly, and monthly reports. Identify and address any performance drops or error messages promptly, as the individual panel monitoring capability of microinverters makes it easier to pinpoint and resolve issues. Timely troubleshooting ensures optimal system performance.
Step 3: Final Inspection and Permission to Connect to the Grid
Schedule a final inspection with your local building department or electrical inspector to verify compliance with all electrical codes and safety standards. Once the inspection is passed, obtain permission to operate (PTO) or an interconnection agreement from your utility company, which typically involves submitting paperwork and may require a utility representative to inspect your system. After receiving PTO, you can officially activate your system and begin generating solar power.
End Note
Installing solar panels with microinverters is a complex but rewarding process that can significantly reduce your energy costs and carbon footprint. By following this guide, you can successfully install a high-performance solar system that will provide clean energy for decades to come.
Frequently Asked Questions
How long does it typically take to install a residential solar system with microinverters?
The installation time can vary depending on system size and complexity, but most residential installations can be completed in 1-3 days. However, the entire process, including planning, permitting, and final grid connection, may take several weeks to a few months.
Can I add more panels to my microinverter system in the future?
Yes, one of the advantages of microinverter systems is their scalability. You can usually add more panels and microinverters to your existing system as long as your electrical setup can handle the additional capacity. However, you may need to obtain new permits and inspections for the expansion.
How often do microinverters need to be replaced?
Quality microinverters are designed to last 25 years or more, matching the lifespan of most solar panels. Many manufacturers offer warranties of 20-25 years on their microinverters. However, as with any electronic component, failures can occur, and individual microinverters may need replacement over the system’s lifetime.