How To Install And Use A Solar Panel Combiner Box?
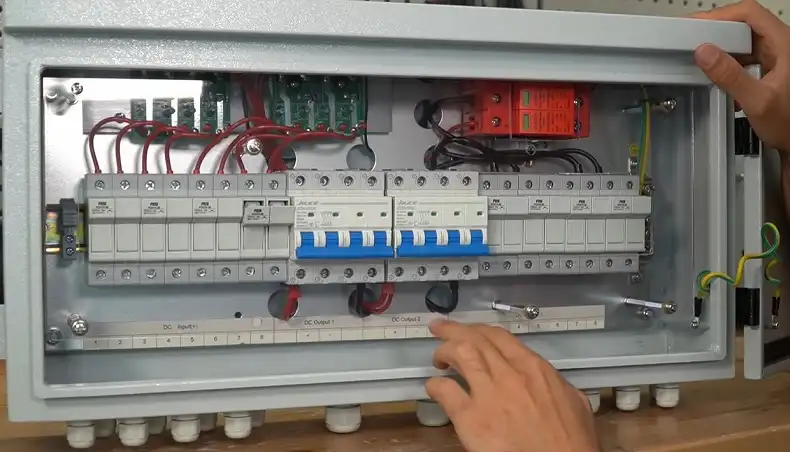
If you’re diving into the world of solar power, understanding how to install and use a solar panel combiner box is crucial.
A combiner box is a vital component in any solar power system, acting as a central hub where multiple solar panel strings converge. It’s the unsung hero that streamlines your system, enhancing both safety and efficiency.
In this guide, we’ll walk you through the ins and outs of solar combiner boxes, from selection to installation and maintenance.
Whether you’re a DIY enthusiast or just looking to understand your solar setup better, this post will shed light on this essential piece of solar technology. Let’s demystify the process and get you powered up with confidence!
Understanding Solar Combiner Boxes
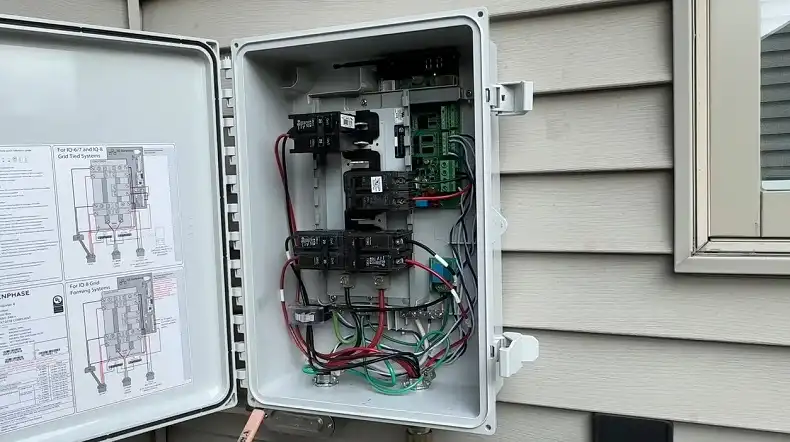
Before we dive into the installation process, it’s crucial to understand what a solar combiner box is and why it’s so important in a solar power system.
Think of a combiner box as the meeting point for all your solar panel strings – it’s where the energy from multiple panels comes together before heading off to your inverter or charge controller.
What Is A Solar Combiner Box?
A solar combiner box, also known as a PV combiner box or DC combiner box, is essentially a junction box designed specifically for solar power systems.
It’s the place where multiple strings of solar panels are connected in parallel. This box houses various components that help manage the flow of electricity from your panels, ensuring everything runs smoothly and safely.
Why Are They Important?
Combiner boxes play several crucial roles in your solar setup:
- Simplification: They reduce the number of wires running from your solar array to your inverter or charge controller, making the system neater and easier to manage.
- Protection: Many combiner boxes include fuses or circuit breakers that protect your system from overcurrents and short circuits.
- Monitoring: Some advanced models allow you to monitor the performance of individual strings, helping you quickly identify any issues in your array.
- Maintenance: By centralizing connections, combiner boxes make it easier to disconnect portions of your array for maintenance or troubleshooting.
Key Components Of A Combiner Box
Understanding the parts of a combiner box will help you when it comes time to install or maintain your system:
- Busbars: These are the metal bars or strips that receive the incoming positive and negative wires from your solar panel strings.
- Fuses or Circuit Breakers: These protect each string from overcurrents.
- Surge Protection Device (SPD): This helps protect your system from voltage spikes, which can be caused by lightning strikes or other electrical disturbances.
- Disconnect Switch: This allows you to safely disconnect the solar array from the rest of the system when needed.
- Grounding Terminal: This ensures that all metal components are properly grounded for safety.
- Weather-Resistant Enclosure: The box itself is designed to withstand outdoor conditions, protecting the internal components from the elements.
Understanding these components and their functions will make the installation process much clearer and help you troubleshoot any issues that might arise down the line.
Choosing the Right Combiner Box
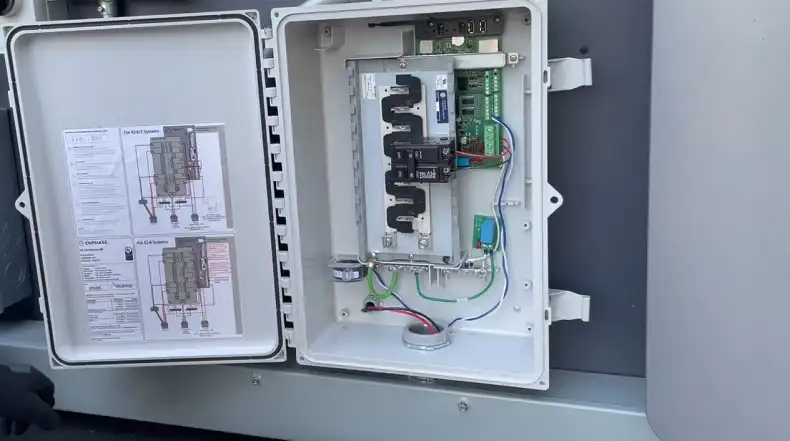
Now that we understand what a combiner box does, let’s talk about how to choose the right one for your solar power system. This decision is crucial as it affects both the performance and safety of your entire setup.
Factors To Consider
When selecting a combiner box, keep these key factors in mind:
- System Size: The number of solar panel strings you have will determine the size of the combiner box you need. Make sure the box can accommodate all your strings with room for potential future expansion.
- Voltage and Current Ratings: Your combiner box must be rated to handle the maximum voltage and current your solar array can produce. This is critical for safety and performance.
- Environmental Conditions: Since combiner boxes are typically installed outdoors, choose one that can withstand your local weather conditions. Look for boxes with appropriate IP (Ingress Protection) ratings.
- Monitoring Capabilities: If you want to keep a close eye on your system’s performance, consider a combiner box with built-in monitoring features.
- Compliance with Local Codes: Ensure the box meets all local electrical codes and regulations.
Types Of Combiner Boxes
Combiner boxes come in various types to suit different needs:
- String Combiner Boxes: These are the most common type, used to combine multiple strings of solar panels.
- Recombiner Boxes: Used in larger systems to combine the outputs of multiple string combiner boxes.
- Smart Combiner Boxes: These include advanced features like string-level monitoring and remote disconnect capabilities.
- Fused vs. Non-Fused: Fused combiner boxes offer additional protection but may be more expensive.
Sizing Considerations
Proper sizing is crucial for the safety and efficiency of your system:
- Number of Inputs: Ensure the box has enough inputs for all your panel strings, plus a few extra for future expansion.
- Amperage Rating: The box’s amperage rating should exceed the total current your array can produce.
- Voltage Rating: The box must be rated for the maximum system voltage, which is typically calculated based on the open-circuit voltage of your panels at the coldest expected temperature.
- Fuse or Breaker Sizing: If your box includes fuses or breakers, they should be sized appropriately for each string.
Remember, when in doubt, it’s always best to consult with a professional solar installer or electrician. They can help ensure you choose a combiner box that’s perfectly suited to your specific solar power system.
Installation Process
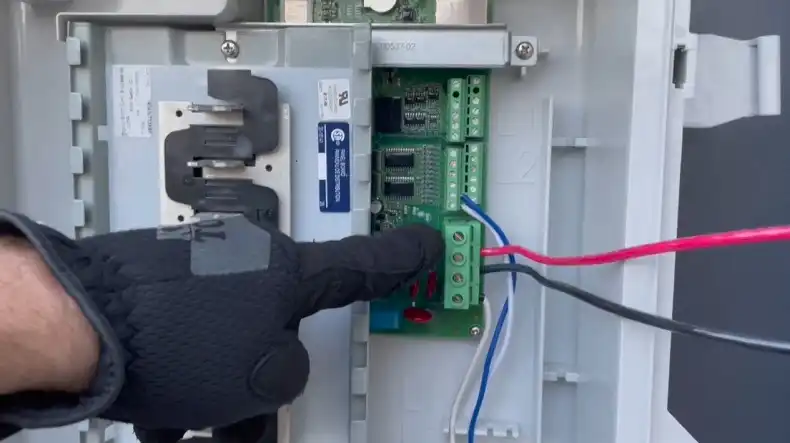
Now that you’ve chosen the right combiner box for your solar power system, it’s time to roll up your sleeves and get to the installation.
While this process can be technical, we’ll break it down into manageable steps. Remember, if you’re not comfortable with electrical work, it’s always best to hire a professional.
Tools And Materials Needed
Before you begin, gather these essential tools and materials:
- Screwdrivers (flathead and Phillips)
- Wire strippers and cutters
- Crimping tool
- Multimeter
- Drill (if mounting on a wall)
- Appropriate wires and connectors
- Weatherproof silicone sealant
- Personal protective equipment (gloves, safety glasses)
Step-By-Step Installation Guide
- Mounting the box:
- Choose a location that’s easily accessible, protected from direct sunlight if possible, and close to your solar array.
- If wall-mounting, use appropriate anchors and ensure the box is level.
- For pole-mounting, follow the manufacturer’s instructions for secure attachment.
- Wiring solar panel strings:
- Start by ensuring all solar panels are covered or disconnected to prevent live voltage.
- Run the positive and negative wires from each string to the combiner box.
- Strip the wire ends and attach the appropriate connectors.
- Connect the positive wires to the positive busbar or fuse holders, and the negative wires to the negative busbar.
- Ensure all connections are tight and secure.
- Connecting to the charge controller or inverter:
- Run appropriately sized wires from the combiner box output to your charge controller or inverter.
- Connect these wires to the main output terminals in the combiner box.
- At the other end, connect to the solar input on your charge controller or inverter.
- Grounding the system:
- Connect a ground wire to the grounding terminal in the combiner box.
- Run this wire to your system’s main ground point or grounding rod.
- Ensure all metal components are properly grounded for safety.
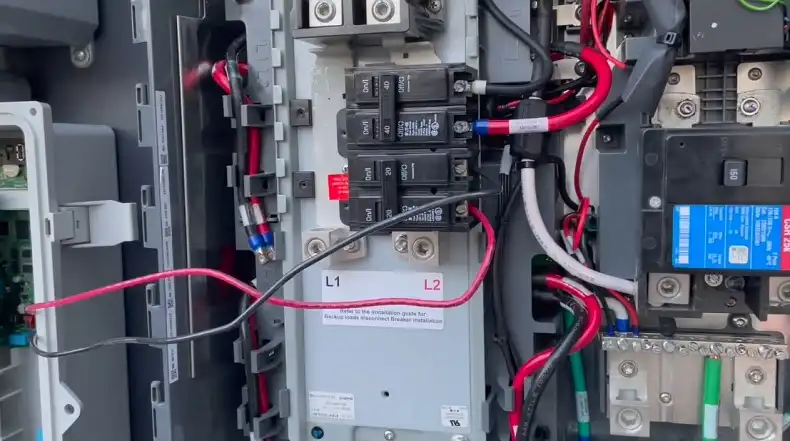
After completing these steps, double-check all connections before closing up the box. It’s also a good idea to use a multimeter to verify voltages and ensure everything is connected correctly.
Remember, safety is paramount when working with electrical systems. If you’re unsure about any step, don’t hesitate to consult a professional. Proper installation is crucial for the longevity and efficiency of your solar power system.
Safety Considerations
When it comes to installing and using a solar combiner box, safety should always be your top priority. Working with electrical systems, especially those exposed to the elements, requires careful attention to detail and adherence to safety protocols. Let’s dive into some crucial safety considerations to keep in mind.
Electrical Safety Precautions
- Turn off power: Before starting any work, ensure that all power sources are disconnected. This includes covering solar panels or disconnecting them to prevent live voltage.
- Use proper tools: Always use insulated tools designed for electrical work. This reduces the risk of shock and short circuits.
- Wear protective gear: Don’t skimp on personal protective equipment. Wear insulated gloves, safety glasses, and non-conductive footwear.
- Avoid working alone: If possible, have someone with you when working on electrical systems. They can assist you and call for help if needed.
- Follow codes and standards: Adhere to all local electrical codes and NEC (National Electrical Code) standards. These are designed to ensure safety and proper system function.
- Use appropriate wire sizes: Using wires that are too small can lead to overheating and fire risks. Always use wires rated for the current and voltage of your system.
- Proper grounding: Ensure that all components, including the combiner box itself, are properly grounded. This is crucial for preventing electric shock and equipment damage.
Weatherproofing And Protection
- Choose the right enclosure: Your combiner box should have an appropriate IP (Ingress Protection) rating for your climate. This ensures it can withstand rain, dust, and other environmental factors.
- Proper sealing: Use weatherproof silicone sealant around any holes drilled for wires to prevent water ingress.
- Mounting considerations: Install the box in a location that minimizes exposure to direct sunlight and extreme weather conditions. This helps prolong the life of the components inside.
- Regular inspections: Periodically check the box for any signs of water ingress, corrosion, or damage to the enclosure.
- Surge protection: Install surge protection devices (SPDs) to safeguard your system against voltage spikes from lightning or grid disturbances.
- Temperature considerations: Be aware of how temperature fluctuations might affect your system. Extreme heat or cold can impact the performance and lifespan of electrical components.
Remember, while these safety measures might seem like extra work, they’re absolutely crucial for the longevity of your system and, more importantly, for your personal safety. When in doubt, always err on the side of caution and consult with a professional electrician or solar installer.
Using and Maintaining Your Combiner Box
Once your solar combiner box is installed, it’s not just a set-it-and-forget-it situation. Proper use and regular maintenance are key to ensuring your solar power system continues to operate efficiently and safely. Let’s explore how to get the most out of your combiner box and keep it in top shape.
Regular Inspections
- Frequency: Aim to inspect your combiner box at least once every six months, or more frequently in harsh environments.
- Visual checks: Look for any signs of physical damage, corrosion, or pest intrusion. Check that all seals are intact and there’s no water ingress.
- Connection checks: Ensure all wire connections remain tight and secure. Loose connections can lead to arcing and potential fire hazards.
- Fuse and breaker inspection: Verify that all fuses or circuit breakers are in good condition and haven’t tripped.
- Cleaning: Gently clean any dust or debris from the box, being careful not to disturb any connections.
- Temperature check: If possible, use an infrared thermometer to check for any hot spots, which could indicate a problem.
Troubleshooting Common Issues
Even with regular maintenance, you might encounter some issues. Here are some common problems and how to address them:
- Reduced system output:
- Check each string’s voltage and current using a multimeter.
- Look for any tripped breakers or blown fuses.
- Inspect for any loose or corroded connections.
- Water ingress:
- Identify the source of the leak and reseal as necessary.
- Check that drain holes (if present) are clear.
- Consider relocating the box if it’s in a particularly exposed area.
- Corrosion:
- Clean any corrosion with a suitable electrical contact cleaner.
- Replace any severely corroded components.
- Ensure proper grounding to prevent future corrosion.
- Pest intrusion:
- Seal any entry points.
- Consider installing pest deterrents around the box.
- Overheating:
- Ensure proper ventilation around the box.
- Check for any loose connections that might be causing resistance and heat.
- Verify that the box is rated for your system’s current and voltage.
Remember, if you’re ever unsure about a problem or how to fix it, it’s best to consult with a professional. Electrical systems can be dangerous if mishandled.
Conclusion
Installing and using a solar panel combiner box is a crucial step in creating an efficient and safe solar power system.
We’ve covered a lot of ground, from understanding what a combiner box does and how to choose the right one, to the nitty-gritty of installation and ongoing maintenance.
A well-installed and maintained combiner box is an investment in the reliability and efficiency of your entire solar setup.
As solar technology continues to evolve, staying informed about best practices in installation and maintenance will help you get the most out of your renewable energy investment.

