How To Replace A Faulty Solar Panel Junction Box?
Replacing a faulty solar panel junction box is a crucial maintenance task that can restore your solar system’s performance and safety.
The junction box, an often overlooked component, plays a vital role in directing current, protecting electronics, and connecting panel strings.
When issues arise, whether from design flaws, material vulnerabilities, or general wear-and-tear, it’s essential to address them promptly to maintain optimal power generation.
This guide will walk you through the process of identifying junction box problems, selecting an appropriate replacement, and performing the replacement step-by-step.
While some homeowners may attempt this as a DIY project, it’s important to consider the complexity and potential risks involved.
Whether you’re a hands-on solar enthusiast or simply want to understand the process better, this article will provide valuable insights into maintaining the heart of your solar panels.
What Is A Solar Panel Junction Box?
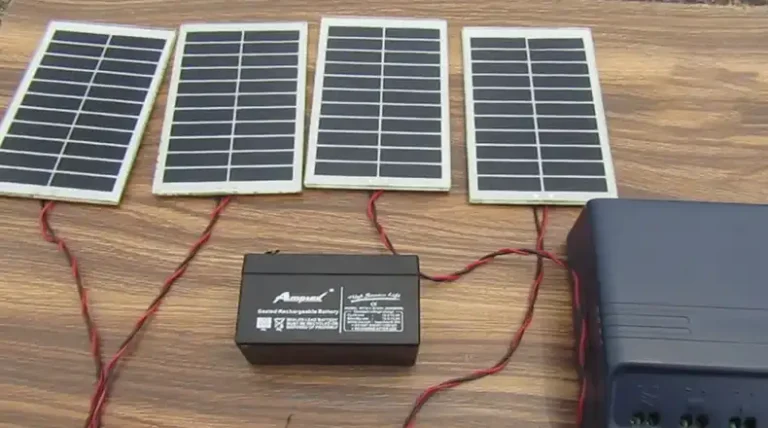
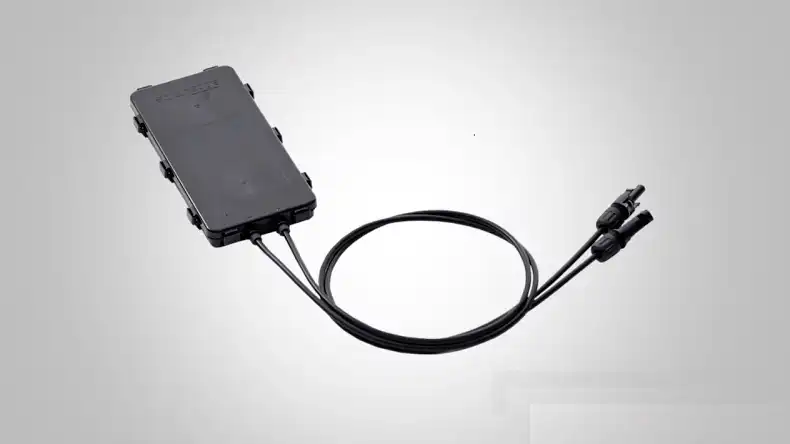
A solar panel junction box is an essential component of any photovoltaic system. It serves as an electrical enclosure that houses critical connections between the solar cells inside the panel and the external wiring. Here’s what you need to know about junction boxes:
Function:
The primary purpose of a junction box is to safely transition the DC electricity produced by the solar panel into the cables that carry power to other components of the system. It acts as a hub for electrical connections and protections.
Components:
Inside a typical junction box, you’ll find:
- Connectors and terminals
- Surge protection devices
- Sometimes fuses or grounding wiring
- Diodes (for older models)
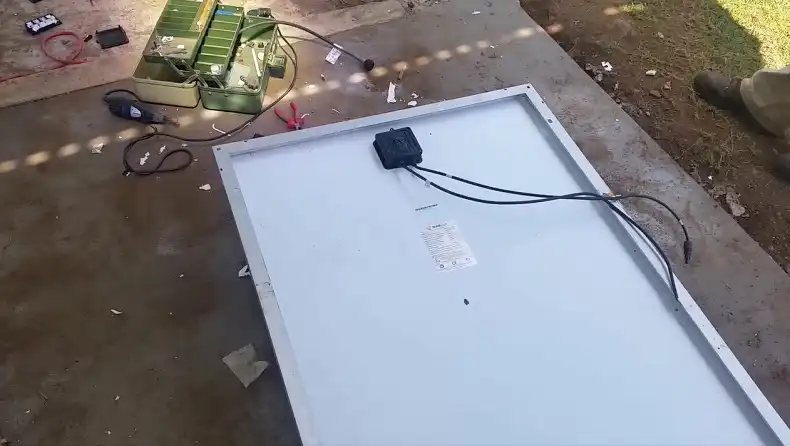
Location:
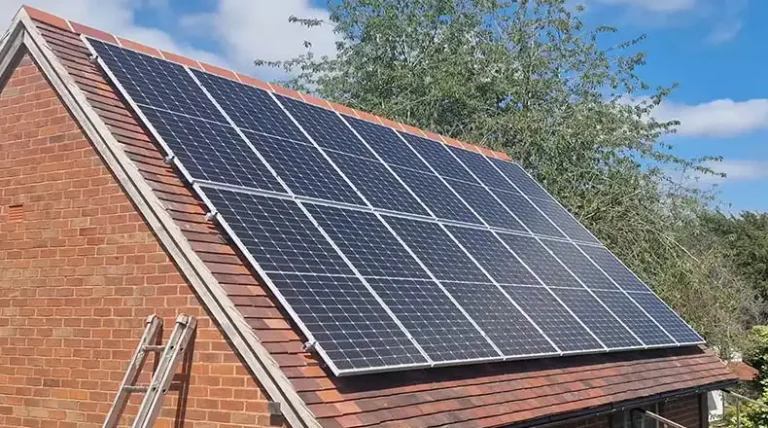
Junction boxes are usually mounted on the back of solar panels, providing a secure and weatherproof housing for electrical connections.
Importance:
Reliable and durable junction boxes are crucial for:
- Safe operation of the solar array
- Long-term resilience of the system
- Protecting internal components from environmental factors
Signs of a Faulty Junction Box
Recognizing the signs of a failing junction box is crucial for maintaining your solar panel system’s performance and safety. Here are key indicators that your junction box may need replacement:
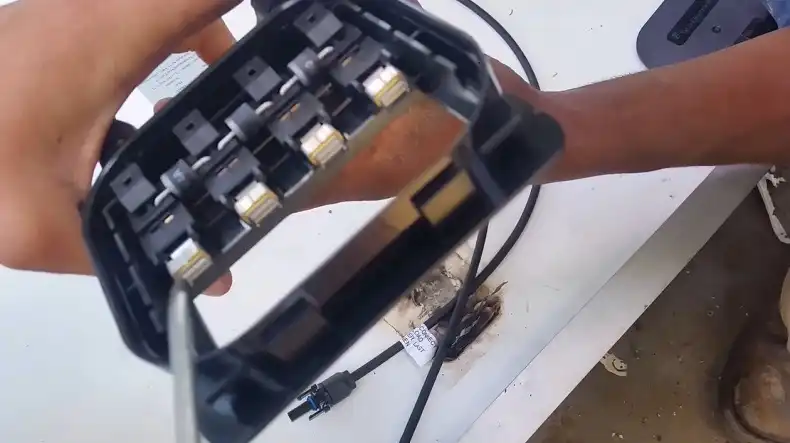
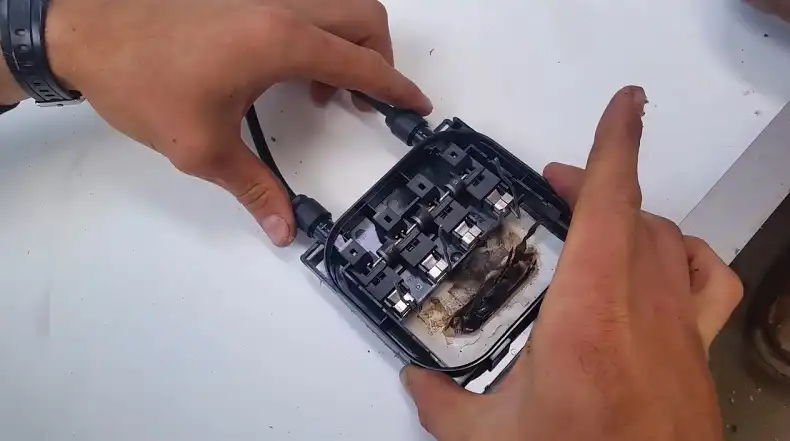
Discolored or Burnt Terminals
Overheating is a common culprit behind junction box failures. Look closely at the terminals for signs of discoloration or burning, which indicate excessive heat buildup. These damaged terminals can lead to connection failures and reduced system efficiency.
Cracked Enclosure
The junction box’s enclosure is its first line of defense against environmental factors. Cracks in the enclosure allow moisture, dust, and debris to enter, accelerating corrosion and creating potential electrical hazards like ground faults.
Loose Connections
Secure connections are vital for optimal performance. Loose connections within the junction box increase resistance, causing heat buildup and potential fire hazards. Regularly inspect terminals for tightness to prevent these issues.
Faulty String Fusing
Each string of solar panels should have its own fuse to protect against overloads. A faulty string fuse can fail to protect the wiring, leading to damage and system downtime. Check the condition of fuses regularly.
Ground Faults
Improper grounding is a serious safety concern. Ground faults occur when electrical current leaks to the grounding system instead of flowing through the intended circuit. This can cause equipment damage and electrical shock risks.
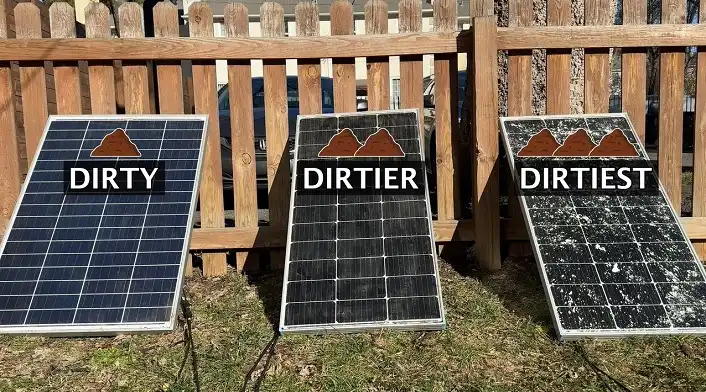
Correlation with Environmental Factors
If your solar system’s performance drops significantly during specific weather conditions like rain or snow, it might indicate a junction box issue. Moisture can compromise the box’s integrity, leading to electrical problems.
Unexplained Drop in Solar Panel Output
A sudden decrease in power generation could be due to a degraded junction box no longer routing and regulating power flow properly.
If you observe any of these signs, it’s advisable to have a solar professional inspect your panels and junction boxes. Early detection and replacement can prevent more serious issues and maintain your system’s efficiency.
Choosing a Replacement Junction Box
When it comes time to replace a faulty junction box, selecting the right replacement is crucial for ensuring compatibility and optimal performance. Consider the following factors:
Junction Box Style and Mounting
The style of your junction box should match your existing system, whether it’s a racking mount or string box. Ensure compatibility with your solar panels’ frame or mounting system.
Consider the box’s size and weight for easy installation and secure placement. Proper mounting is essential for preventing damage and ensuring optimal performance.
Electrical Ratings
Matching voltage and amperage capacity to your solar panels is crucial. Most modern panels operate on 600-1500V DC systems.
It’s advisable to slightly underrate the junction box for a safety margin. Incorrect ratings can lead to overheating, system failure, or even fire hazards.
Enclosure Material
The choice between plastic and metallic enclosures depends on your specific needs. Plastic is corrosion-resistant but less durable, while metallic options offer better protection against physical damage and provide a grounding path.
Consider the environmental conditions where the junction box will be installed to make an informed decision.
Internal Wire Terminals
The number and size of wire terminals should match your system’s design. Typically, 4-12 terminals accommodate most panel wiring.
Ensure the terminals are compatible with your wire gauge for secure connections. Overloaded or undersized terminals can lead to overheating and electrical issues.
Integrated Features
Look for junction boxes with features like strain reliefs or cable glands to protect wire connections from damage.
Secure fasteners are essential for preventing moisture and debris from entering the enclosure. Additional features such as grounding lugs or surge protection can enhance safety and performance.
Compatibility
The most important factor is compatibility. Ensure the replacement junction box matches the number of terminals, wire gauges, voltage rating, and amp capacity of the original. Incorrect replacements can cause system malfunctions and safety hazards.
When in doubt about the specifications or compatibility, it’s best to consult with a solar specialist. They can help ensure you select a replacement that will integrate seamlessly with your existing system and provide optimal performance and safety.
Steps to Replace a Solar Panel Junction Box
Replacing a solar panel junction box requires careful attention to detail and proper safety precautions. Follow these steps for a successful replacement:
Preparation and Tools
Before beginning the replacement process, gather the necessary tools and materials:
- Flat blade screwdriver (2-4mm)
- Scraper
- Measuring cup
- Gloves
- Glue gun
- Electric soldering iron
- Needle nose pliers
- Multimeter
- Electronic scale
- New junction box
- Soldering wire
- Silica gel
- Potting gel (types A and B)
Ensure you have a clean, flat surface to work on and avoid piling more than 30 panels to prevent micro cracks.
Step 1: Removing the Old Junction Box
- Use the screwdriver to carefully pry open the lid of the defective junction box.
- Dig out the potting gel to expose the soldering points.
- Melt the residual tin with the soldering iron and lift the ribbon to separate it from the junction box.
- Use the scraper to remove any remaining silica gel, being careful not to damage the ribbon.
- Detach the junction box from the back sheet by pulling the cable toward the nearest frame.
Step 2: Installing the New Junction Box
- Clean the panel thoroughly, removing all traces of old silicone and debris.
- Position the new junction box in the original location, ensuring the ribbons pass through the assembly holes.
- Check the ribbon condition and adjust its position if necessary.
Step 3: Wiring and Sealing

- Apply silica gel to the backside of the new junction box.
- Pass the ribbons through the assembly holes.
- Use the soldering iron to melt new soldering wire and weld the ribbon with a tin joint.
- Press the ribbon end with the screwdriver for 1-2 seconds to ensure a secure connection.
- Mix potting gel types A and B according to the manufacturer’s instructions.
- Fill the junction box with the potting gel mixture, ensuring it reaches the inner edge’s height.
Step 4: Testing and Final Inspection
- Allow the silica gel and potting gel to cure fully (at least four hours).
- Assemble the lid onto the junction box.
- Use a multimeter to check the open circuit voltage of the module.
- Compare the readings with the manufacturer’s specifications to confirm successful replacement.
By following these steps carefully, you can effectively replace a faulty junction box and restore your solar panel’s functionality.
However, if you’re unsure about any part of the process, it’s always best to consult with or hire a professional solar technician.
DIY vs Professional Replacement
When facing a faulty junction box, you might wonder whether to attempt a DIY replacement or call in a professional. Here’s a breakdown to help you decide:
DIY Replacement:
Pros:
- Can be cost-effective if you have the right tools and skills
- Provides hands-on experience with your solar system
- Allows for immediate action if you’re comfortable with the process
Cons:
- Risk of further damage if not done correctly
- Potential safety hazards if proper precautions aren’t taken
- May void warranties if not performed by a certified technician
Professional Replacement:
Pros:
- Ensures the job is done correctly and safely
- Maintains warranty validity
- Access to specialized tools and expertise
- Often includes a workmanship guarantee
Cons:
- Higher upfront cost
- May require waiting for an appointment
Considerations:
- Skill Level: Assess your electrical and solar system knowledge honestly.
- Tools: Check if you have all the necessary specialized tools.
- Warranty: Verify if DIY repairs will void your system’s warranty.
- Safety: Consider the risks of working with high-voltage systems.
- Time: Evaluate if you have the time to complete the job properly.
For most homeowners, especially those without extensive solar or electrical experience, professional replacement is the safer and more reliable option.
However, if you’re confident in your abilities and have thoroughly researched the process, DIY replacement can be a rewarding experience.
Remember, safety should always be your top priority when working with solar systems.
Conclusion
Replacing a faulty solar panel junction box is a critical maintenance task that can significantly impact your solar system’s performance and longevity.
By understanding the signs of junction box failure, choosing the right replacement, and following proper installation procedures, you can ensure your solar panels continue to operate efficiently and safely.
Whether you decide to tackle the replacement yourself or opt for professional assistance, the key is to address issues promptly to maintain optimal energy production.