Solar Panel Inverter Problems and Solutions
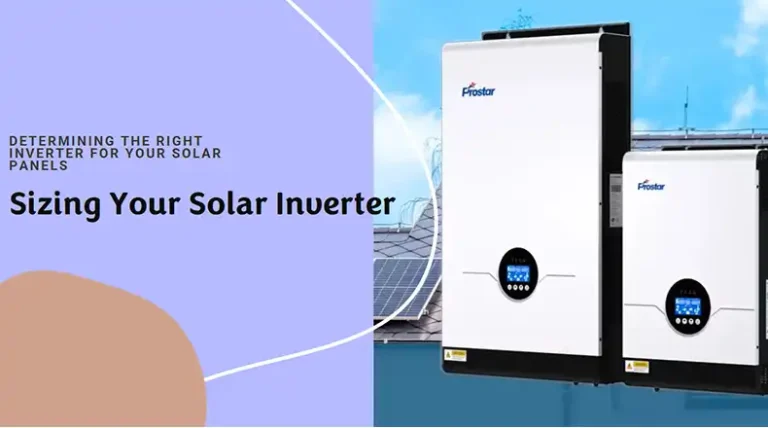
As a solar energy professional, I often get asked about the role and function of solar inverters. Simply put, an inverter is an electrical device that converts the DC electricity generated by solar panels into AC that can be used to power home appliances and fed into the electrical grid. There are a few common types of inverters used in solar photovoltaic systems today,
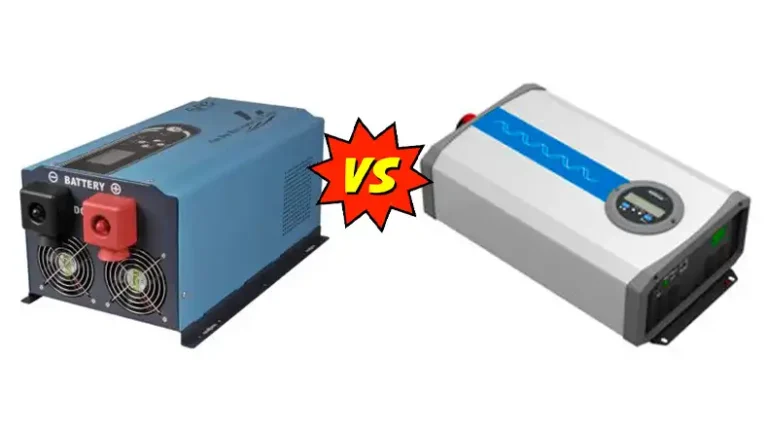
String inverters: These are usually connected to multiple solar panels and convert the total DC output into AC. They offer simplicity but have a single point of failure.
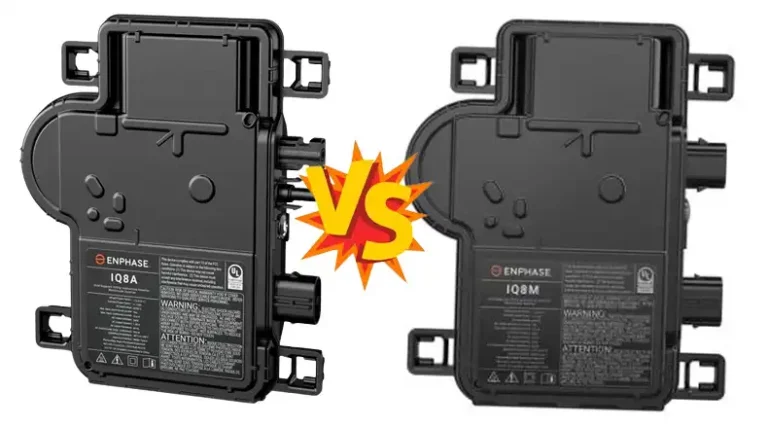
Microinverters: With these, each solar panel has its own small inverter attached. This offers panel-level monitoring and removes single-point failure risk.
Power optimizers: These DC/DC converters are installed on each panel and provide panel-level data. The outputs are then fed to a central string inverter.
It’s clear that inverters play a vital role in ensuring your solar panels can actually power your home. When they fail, your entire solar array can become non-functional. Having quality inverters sized properly for your system is crucial for reliability and return on investment.
Common Solar Inverter Problems (With Fixes)
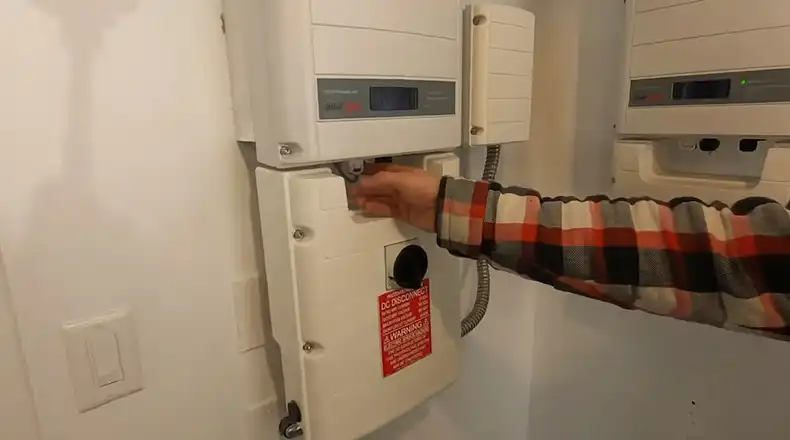
After installing and maintaining countless solar inverter systems for a long time, I’ve come across all types of inverter problems over the years. The most common issues I routinely encounter are –
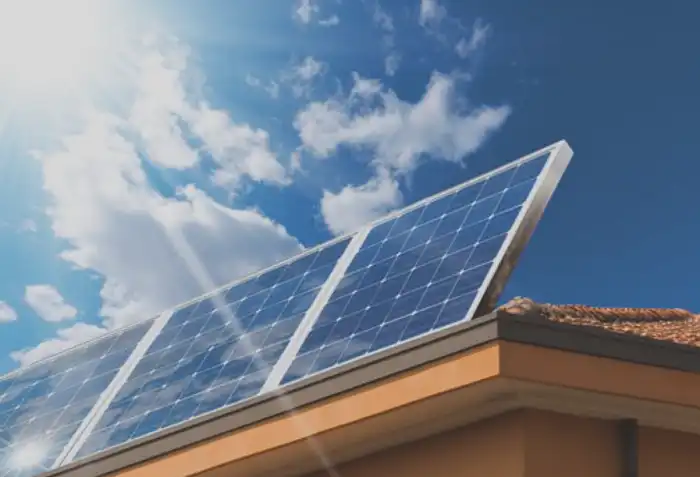
1. Overheating
Excess heat is the enemy of most electronics, and solar inverters are no different. Sustained high temperatures can degrade components and cause complete failure over time.
Causes: Improper ventilation, ambient temperature too high, dust/debris blocking cooling fans, undersized inverter for the solar array heat load.
Effects: Hot spots lead to melted solder or insulation, reduced performance, unexpected shutdowns, and damage to capacitors and switching devices.
Solutions: Ensure adequate shade and air circulation, clean any dirt/debris from filters and intake vents, confirm the inverter is rated for the local climate and properly sized, and replace old undersized inverter models.
2. Isolation Fault
This fault occurs when electricity “leaks” from the solar cables and inverter, posing a shock risk. The inverter will shut down as a safety precaution in this scenario.
Causes: Damaged wiring exposing bare conductors, water ingress leading to conduction paths outside the wiring, and rodent damage to cables.
Effects: Safety hazard due to current leakage into grounded structures, and damage to components from arcing.
Solutions: Inspect wiring thoroughly for damage, replace any cabling with worn insulation, seal any water entry points on the inverter housing, and install rodent protection conduits for cabling.
3. Ground Fault
Similar to isolation faults, ground faults happen when electricity takes an unintended path outside of the solar circuit which could endanger personnel.
Causes: Damaged equipment grounding conductor, damage to PV racking/housing leading to unintended ground paths, flooded installation area.
Effects: Potential electric shock risk if chassis becomes energized, fire risk from sustained earth faults, and overheating damage.
Solutions: Verify all ground wiring, inspect for damage to grounded equipment frames, ensure no standing water near electrical equipment, and employ GFDI breakers.
4. Maximum Power Point Tracking (MPPT) Issues
MPPT is how inverters optimize the solar array’s power output. Tracking failures lead to lost energy production.
Causes: Partial shading limiting the output of some panels, accumulated dirt/dust on the array decreasing output, aged inverter algorithms causing tracking losses.
Effects: Suboptimal power conversion efficiency, lower total renewable energy production than capable.
Solutions: Clear any shading obstructions, clean the array routinely, and upgrade older inverter models for improved MPPT performance.
5. Poor Inverter Installation
Inadequate workmanship during inverter mounting or electrical connections can also be a fault source.
Causes: Loose wiring connections leading to arcing, insufficient wire gauges unable to handle current loads, improperly secured inverter mounting causing vibration wear.
Effects: Early failures at wiring connection points, and risk of damage from inverter detachment in high winds.
Solutions: Secure and weatherproof all system wiring junction boxes, confirm sufficient wiring gauges used for DC and AC current loads, and robustly attach inverters according to manufacturer specifications for wind zones.
6. The Battery Won’t Charge / Not Holding a Charge
Inverters also regulate connected battery banks, ensuring proper charging and discharge cycles to prevent damage. Charging failures render the batteries unusable as a solar backup or storage solution.
Causes: Faulty or mismatched battery bank for inverter specifications, failed battery charge controller inside inverter, battery bank exceeding recommended lifespans.
Effects: Unusable energy storage, loss of backup capability during blackouts, reduced overall solar array output without working batteries.
Solutions: Verify batteries match voltage and capacity recommendations for the inverter, test charge controller and replace if defective, budget for battery bank replacement every 5-7 years depending on chemistry.
7. Inverter Not Restarting
Power interruptions or shutdowns triggered by faults should be followed by automatic inverter restarts. Failure to restart indicates a problem.
Causes: Insufficient battery voltage to reboot controller, overheat damage not allowing restart until cooling occurs, repeated recent fault trips.
Effects: Complete loss of power conversion until the issue is corrected, requiring solar professional diagnosis.
Solutions: Allow a sufficient cooldown period after faults before troubleshooting. Test batteries and replace them as needed. Verify no underlying electrical or wiring faults causing repeated trips.
What to Do to Prevent Future Inverter Issues?
While even quality solar inverter equipment can unexpectedly fail over time when exposed to the elements, focusing on prevention best minimizes problems. Therefore –
a) Proper installation using manufacturer guidelines and best practices ensures electrical safety and reliability. Consult local building codes as well to meet requirements.
b) Regular inspection and maintenance allow for catching minor problems before they cascade into major faults. Visually check for damage, test protection devices, and clear vents of debris according to the maintenance schedule.
c) Choosing high-quality, properly sized equipment suitable for your climate and site parameters guarantees the best performance and lifespan from the inverter. Work with reputable solar professionals during system design.
d) Monitoring software can provide early warning of developing faults before equipment failures occur. Monitoring solar production can also inform when maintenance is needed.
How to Troubleshoot Solar Inverter Issues?
When preventive measures have been followed but faults still occur, systematic troubleshooting is key to swiftly diagnosing and solving the problem.
Way 1 – Most inverters provide error codes and status lights indicating the type of fault condition detected. Consulting installation manuals allows decoding these alerts to identify failed components.
NOTE: Common codes I encounter along with typical resolutions include –
| Error Code | Description | Troubleshooting Steps |
| 01 | SPI failure or an internal communication failure | Check connections between the inverter and the solar panels, as well as any communication cables. Ensure proper grounding and connections. If the issue persists, contact the inverter manufacturer for technical support. |
| 02 | EEPROM R/W failure or memory chip failure | This error indicates a problem with the inverter’s internal memory. Contact the inverter manufacturer for assistance with memory replacement or firmware updates. |
| 03 | Fac failure or the grid frequency is out of range | This error suggests an issue with the grid frequency, which may be outside the acceptable range for the inverter to operate. Check with your utility provider if there are any grid disturbances or fluctuations. If the issue persists, contact the inverter manufacturer for further assistance. |
| 07, 25 | Relay check failure or a relay self-checking failure | This error indicates a problem with the inverter’s relays, which are responsible for switching the flow of electricity. Check for loose connections or damaged relays. If the issue persists, contact the inverter manufacturer for replacement relays. |
| 13 | Overhigh DC injection | This error suggests an excessive amount of DC electricity being injected into the grid. Check for grounding issues or faulty connections between the inverter and the grid. If the issue persists, contact the inverter manufacturer or a qualified electrician. |
| 24 | Grid voltage too high | This error indicates that the grid voltage is above the inverter’s acceptable range. Check with your utility provider if there are any grid disturbances or fluctuations. If the issue persists, contact the inverter manufacturer for further assistance. |
| 25 | Grid voltage too low | This error suggests that the grid voltage is below the inverter’s acceptable range. Check with your utility provider if there are any grid disturbances or fluctuations. If the issue persists, contact the inverter manufacturer for further assistance. |
| 31 | Overtemperature | This error indicates that the inverter’s internal temperature has exceeded the safe operating range. Check for proper ventilation and ensure that the inverter is not exposed to direct sunlight or excessive heat. If the issue persists, contact the inverter manufacturer for further assistance. |
| 50 | Ground fault | This error suggests a ground fault, which is an unintentional electrical connection between a live circuit and the ground. Check for damaged insulation, loose connections, or moisture in the system. If the issue persists, contact a qualified electrician. |
The above covers the most prevalent codes, though many additional warnings exist covering internal controller faults, component failures, communication losses, etc. The installation manual provides a complete reference covering all tracked parameters and troubleshooting steps for each potential failure mode reported by the inverter firmware.
Way 2 – Isolating issues through testing may be required in complex systems – for instance, using a multimeter to check the continuity of suspect cabling or measuring insulation resistance. This facilitates pinpointing fault locations.
Way 3 – Applying known solutions for common faults first during troubleshooting saves time. For example, a ground fault trip may be quickly remedied by checking ground wire connections versus tracing entire circuit paths.
Way 4 – Recognize limitations when specialized equipment or professional assistance is needed. Inverter repair involving electronics expertise or electrical safety knowledge often requires a qualified solar technician.
When Should You Replace the Inverter Instead of Repairing It?
With maintenance and minor repairs, quality inverters can provide 20+ years of service. However, complex electronics have a limited lifespan and older equipment can lack the capabilities of modern inverter technology.
I generally recommend complete solar inverter replacement when –
- The inverter model has been discontinued and disqualified replacement parts are unavailable.
- The system was undersized during the original installation and needs upgraded capacity.
- There have been reoccurring, unresolved faults despite troubleshooting efforts.
- The unit lacks the safety features of new products or has outdated communication protocols.
- The retrofit cost approaches that of new, higher-performance equipment.
Replacement decisions ultimately depend on the inverter failure modes, system design constraints, and overall value to the consumer.
How to Improve the System Reliance of Your Solar Inverter?
For solar owners seeking extreme inverter reliability, additional protection steps can minimize risks. So, add surge protection devices and ensure proper system grounding to safeguard from lightning strikes or similar electrical transients. Employ weatherproofing and pest-proofing solutions for all system cabling and housings vulnerable to water or animal intrusions. Routine inspections also catch deterioration early. Choose redundant, modular system architecture during design using multiple microinverters instead of a single string inverter. This avoids single points of failure. Monitoring at the panel level also facilitates troubleshooting.
Conclusion
Maintaining a properly functioning solar inverter is essential for renewable energy systems to deliver their full economic and operational potential. By understanding common inverter failure points, focusing on preventive maintenance, and following best troubleshooting practices, solar PV owners can minimize power disruptions. Seeking assistance from qualified professionals for complex electrical issues is also advised when installation or repair skills are limited. Applying these solar inverter management principles allows homeowners to confidently rely on their investment for decades of clean energy production.
People Also Ask
Why do solar panel inverters fail?
The complex electronics and electrical components inside solar inverters can degrade over time when exposed to weather, temperature swings, voltage spikes, dust/debris, and even animal damage. Preventive maintenance minimizes these risks but failures still occur.
What is the failure rate of solar inverters?
Quality inverter failure rates average 1-2% annually according to solar industry surveys. This translates to an operational lifespan of 10-15+ years for most equipment. High-end products with preventive maintenance can exceed 20 years.
What is the life of a solar inverter?
The typical service life target for solar inverters when properly maintained is at least 15-20 years. Some premium inverters can operate reliably for 25+ years before needing replacement.
Are inverters 100% efficient?
No, all inverters consume a small portion of energy passing through them as heat loss. Quality solar inverters are 95-97% energy efficient under ideal test conditions. Real-world efficiency is 1-3% percentage points lower factoring in weather effects, poor solar illumination, etc.

![[ANSWERED] What Size Charge Controller for 1200W Solar Panel?](https://www.itekenergy.com/wp-content/uploads/2023/07/What-Size-Charge-Controller-for-1200W-Solar-Panel-768x428.webp)
